Cookbook Wall on Shallow Shelves: Stylish Storage Ideas
A cookbook wall on shallow shelves sounds simple until you try to build one. Most shelves in a kitchen are 4 to 6 inches deep. A standard hardcover cookbook is 9 to 10 inches tall.
That mismatch is where the whole project lives or dies.
Do the math before you drill a hole. A loaded picture ledge carrying six cookbooks can weigh 12 to 18 pounds, and manufacturer specifications for common ledge shelves often cap loads closer to 5 to 10 pounds per unit. Get the depth, weight, and anchor plan right first, and the rest becomes styling.
Get them wrong, and you'll be picking books off the floor.
cookbook wall on shallow shelves
A cookbook wall on shallow shelves works when shelf depth runs 5 to 6 inches for tall hardcovers. Ledge shelves hold books safely with a front lip. Anchor each shelf into studs or toggle bolts.
Heavy cookbooks go low. Standard 4-inch ledges suit paperbacks and smaller titles only.
Why This Isn't Just a Styling Job
Shallow shelves are a structural problem dressed up as a decor one. That's the part most cookbook wall guides skip. They jump straight to color-blocking spines and never mention that a 4-inch ledge can't hold a 10-inch hardcover upright without it tipping.
Picture ledges are the typical starting point here. A ledge shelf (a shallow shelf with a raised front lip) exists to stop books from sliding forward. That lip is doing real work under load.
Skip it, and gravity wins.
Here's the thing that separates a wall that lasts from one that sags by month three: you're not storing books, you're cantilevering weight off a wall. Every pound pulls outward, not straight down. The anchor and bracket have to resist that pull, not just the vertical load.
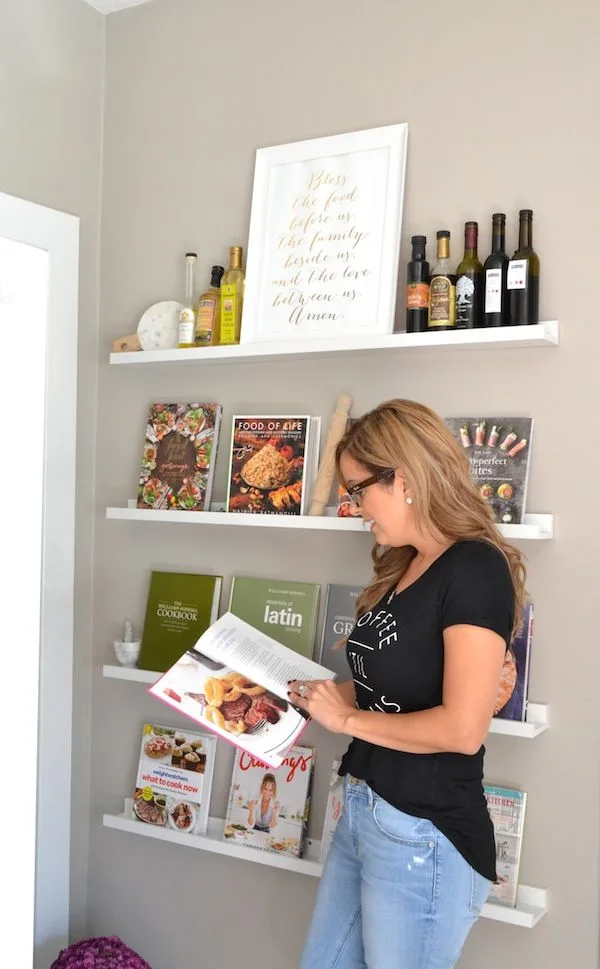
Image source: Bing (Web (fair-use with source credit))
So the honest split looks like this. If your cookbooks are mostly paperback or small-format, a 4-inch ledge is fine and cheap. If half your collection is glossy coffee-table hardcovers, you need 5 to 6 inches minimum, plus heavier anchoring.
If you can't drill at all, your options narrow fast.
What You're Actually Working With: Depths, Weights, and Book Sizes
Measure first. Buy second. Every failed cookbook wall we've seen in aggregate user reviews traces back to guessing on dimensions.
Grab a tape and sort your collection into three stacks. Small paperbacks, standard hardcovers, and large-format books. Write down the tallest height and the deepest spine in each stack.
That data drives everything downstream.
Standard cookbook dimensions to plan around
| Format | Typical height | Typical weight | Shelf depth needed |
|---|---|---|---|
| Paperback | 7 to 9 in | 0.5 to 1.5 lbs | 3 to 4 in |
| Standard hardcover | 9 to 10 in | 1.5 to 3 lbs | 5 in |
| Large-format hardcover | 11 to 13 in | 2.5 to 5 lbs | 6 in |
Do the weight math honestly. Six standard hardcovers at 2.5 lbs each is 15 pounds on one ledge. That number matters more than anything in the styling phase.
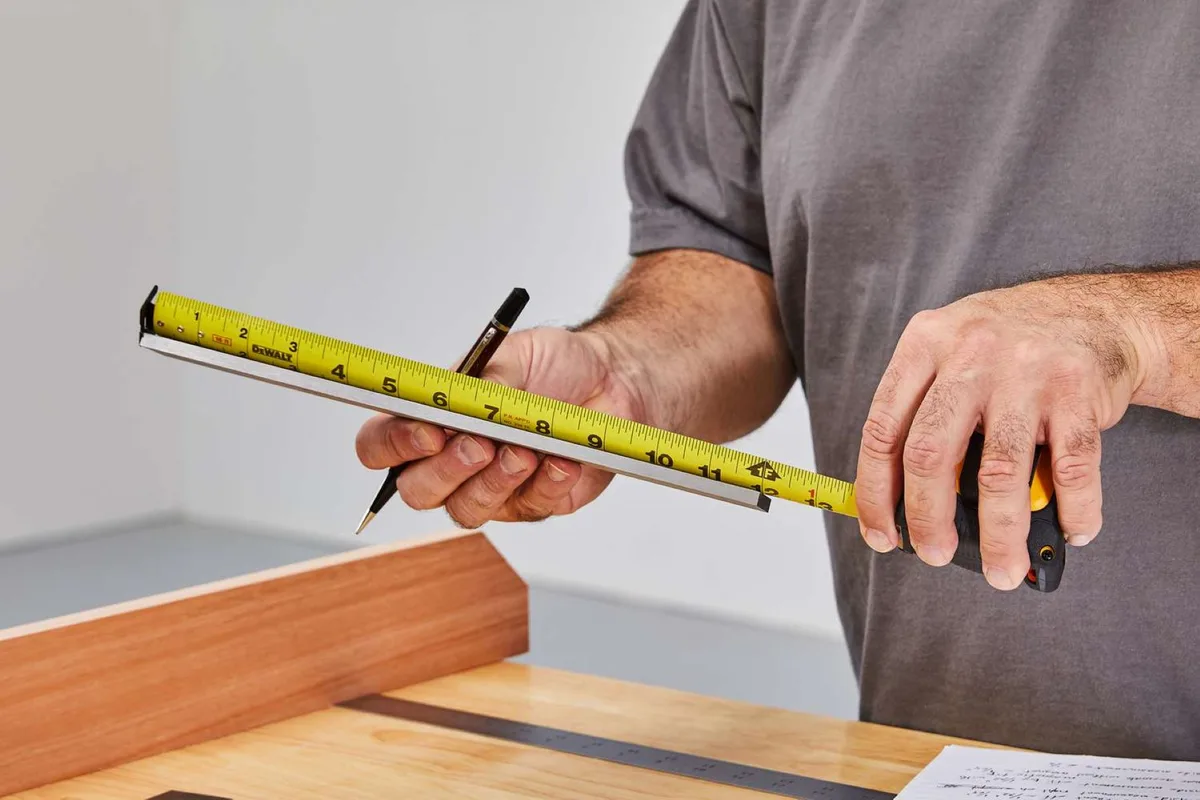
Image source: Bing (Web (fair-use with source credit))
Landscape or oversized cookbooks are the trap. A 12-inch-wide book needs depth and width, and most shallow ledges give you neither. Per general shelving load guidance from standards bodies like ANSI/BIFMA, span and load ratings are set by the manufacturer.
Check the spec sheet, not the product photo.
Choosing Your Shelf System and Anchors
Your shelf choice and your anchor choice are one decision, not two. The heaviest ledge on the shakiest anchor fails. The flimsiest ledge on a stud can hold more than you'd expect.
Picture ledges vs. floating shelves vs. slim rails
If you want the display look with a safety lip, a picture ledge is best. If you want a cleaner finished face and can go deeper, a floating shelf works. If you're just lining up spines tight, a slim rail or narrow bracket shelf does the job.
Each one is best for a different collection size.
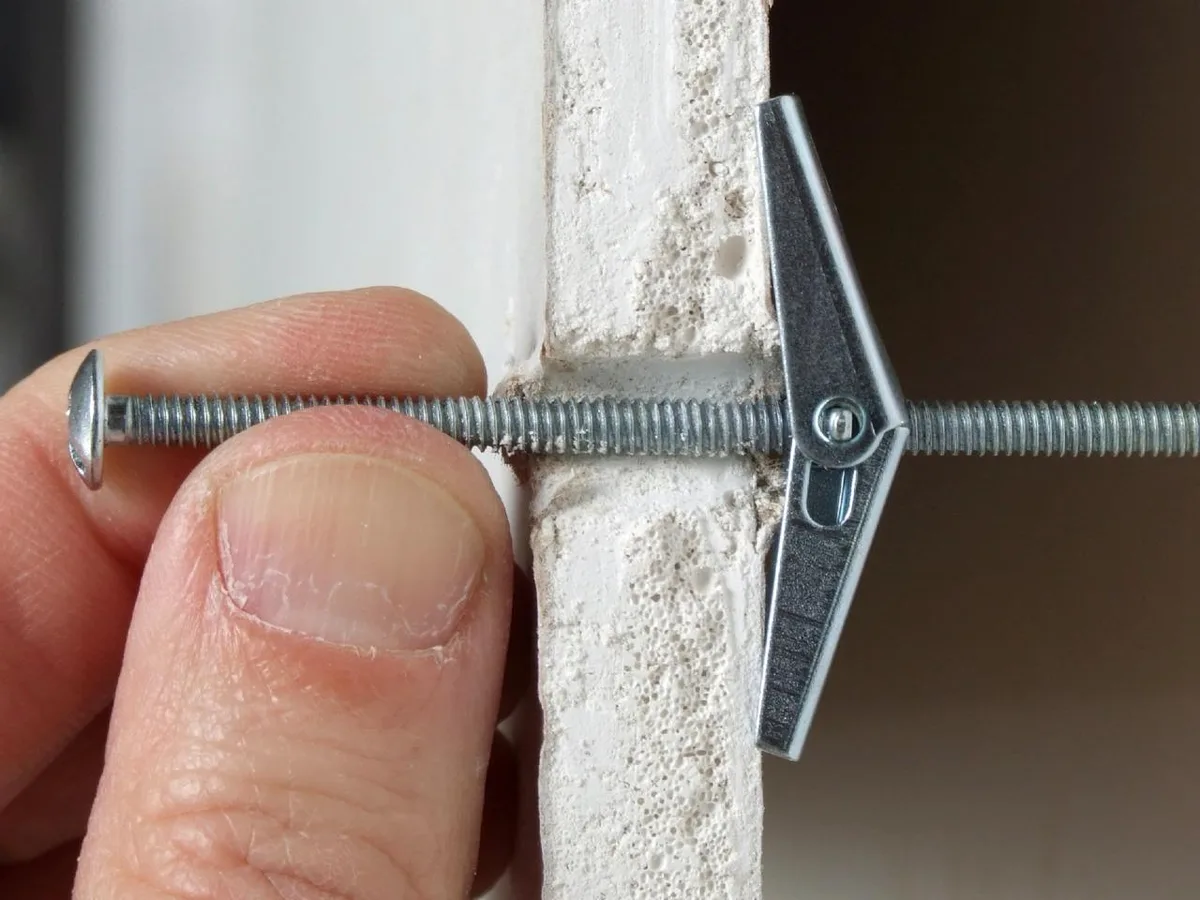
Image source: Bing (Web (fair-use with source credit))
Anchors that don't fail under load
- Toggle bolts (also called molly bolts): best for drywall carrying more than 10 lbs. They spread load behind the wall.
- Stud mounting: ideal when you can hit a stud. Drill into the center, not the edge.
- Standard drywall anchors: fine for light paperbacks only.
- Adhesive strips: rent-friendly, but rated 5 to 16 lbs per pair and unforgiving if overloaded.
Renters, here's your if/then. If your lease forbids drilling, use adhesive strips and keep each shelf under 5 lbs. If minor patching is allowed, use toggle bolts and patch on move-out.
If you're staying long-term, mount into studs and never think about it again.
Building the Wall Step by Step
This is the workflow that keeps the wall straight, level, and holding weight a year from now.
- Measure the wall and pick your runs. Keep unsupported span to 24 to 32 inches between brackets. Longer runs need more support.
- Locate studs with an electronic stud finder that also detects wiring. Stud spacing is usually 16 or 24 inches on center.
- Mark a level line with a spirit level or laser level. Eyeballing it will show once books are loaded.
- Drill pilot holes slightly narrower than your anchors.
- Install toggle bolts or drive into studs. Tighten firmly without crushing the drywall.
- Mount the ledge and check it's level again under hand pressure.
- Load test with a light stack first. Add weight gradually over a few days.
- Arrange books. Heavy books low and centered, light ones up top.
Arranging books so they stay put
Face-out display looks best but eats depth. Spine-out saves space and holds more. A mix works.
Stand a few favorites face-out and shelve the rest spine-out behind them.
Stack horizontally when depth runs short. A horizontal stack of three to four books sits more safely on a narrow ledge than upright spines.
Visual Cues That Make or Break the Look
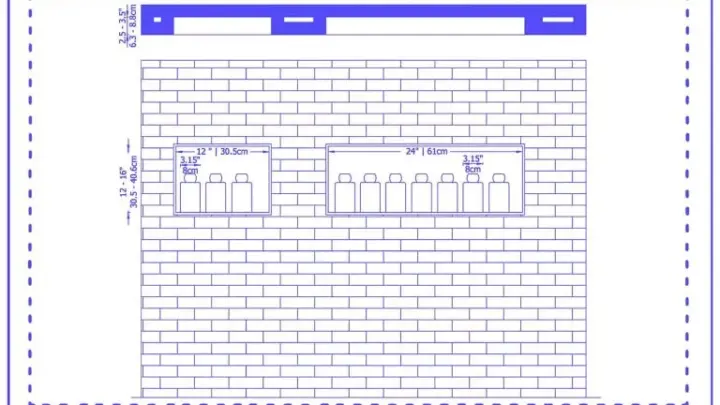
Before you load a single book, step back and read the wall from across the room. Diagrams and photos of good cookbook walls all share the same cues. Even gaps, consistent book heights within a run, and a repeating rhythm.
The mistake your eye catches first is uneven spacing. If one shelf run has a 2-inch gap and the next has a 6-inch gap, the wall looks accidental. Pick a spacing and repeat it.
Color-blocking is the fastest visual win. Group warm spines together, cool spines together, or go monochrome. It reads as intentional even when the collection isn't.
Real-World Setup Scenarios
Different kitchens call for different builds. Here's how the same principles play out across the most common setups.
Tiny rental kitchens and renter-safe installs
Renters can't drill, so adhesive strips and lightweight ledges are the play. Keep each shelf under 5 lbs per pair of strips, and stick to paperbacks and slim hardcovers. Verified buyer feedback on adhesive hooks reports failure most often when people overload them by 2 to 3 times the rating.
Weigh your stack before it goes up.
Galley and open-plan kitchens
A galley kitchen has narrow walls and no room for deep shelving. That's where shallow ledges actually win. In an open-plan kitchen, the same wall gets seen from the living room.
Treat it as decor, not just storage. Keep the spine colors consistent across runs so it reads well from a distance.
Above-the-stove and near-heat placements
Books near the stove collect grease and absorb steam. Per NFPA 101 life safety guidance, keep combustible items clear of cooking appliance heat zones. If your only wall is above the stove, mount high and use a glass or metal shelf lip.
Otherwise, skip that wall entirely.
Humid kitchens and sun-facing walls
Humid climates warp paper and crack spines over time. Sun-facing walls fade spine colors within a year or two. If your wall gets direct sun, rotate books every few months.
If your kitchen runs damp, add a small dehumidifier nearby or keep the collection to laminated covers.
Mistakes to Avoid and How to Maintain the Wall
The three biggest install errors we see in aggregate reviews are skipping studs, overloading spans, and ignoring the front lip. Each one shows up as a sag, a crack, or a pile of books.
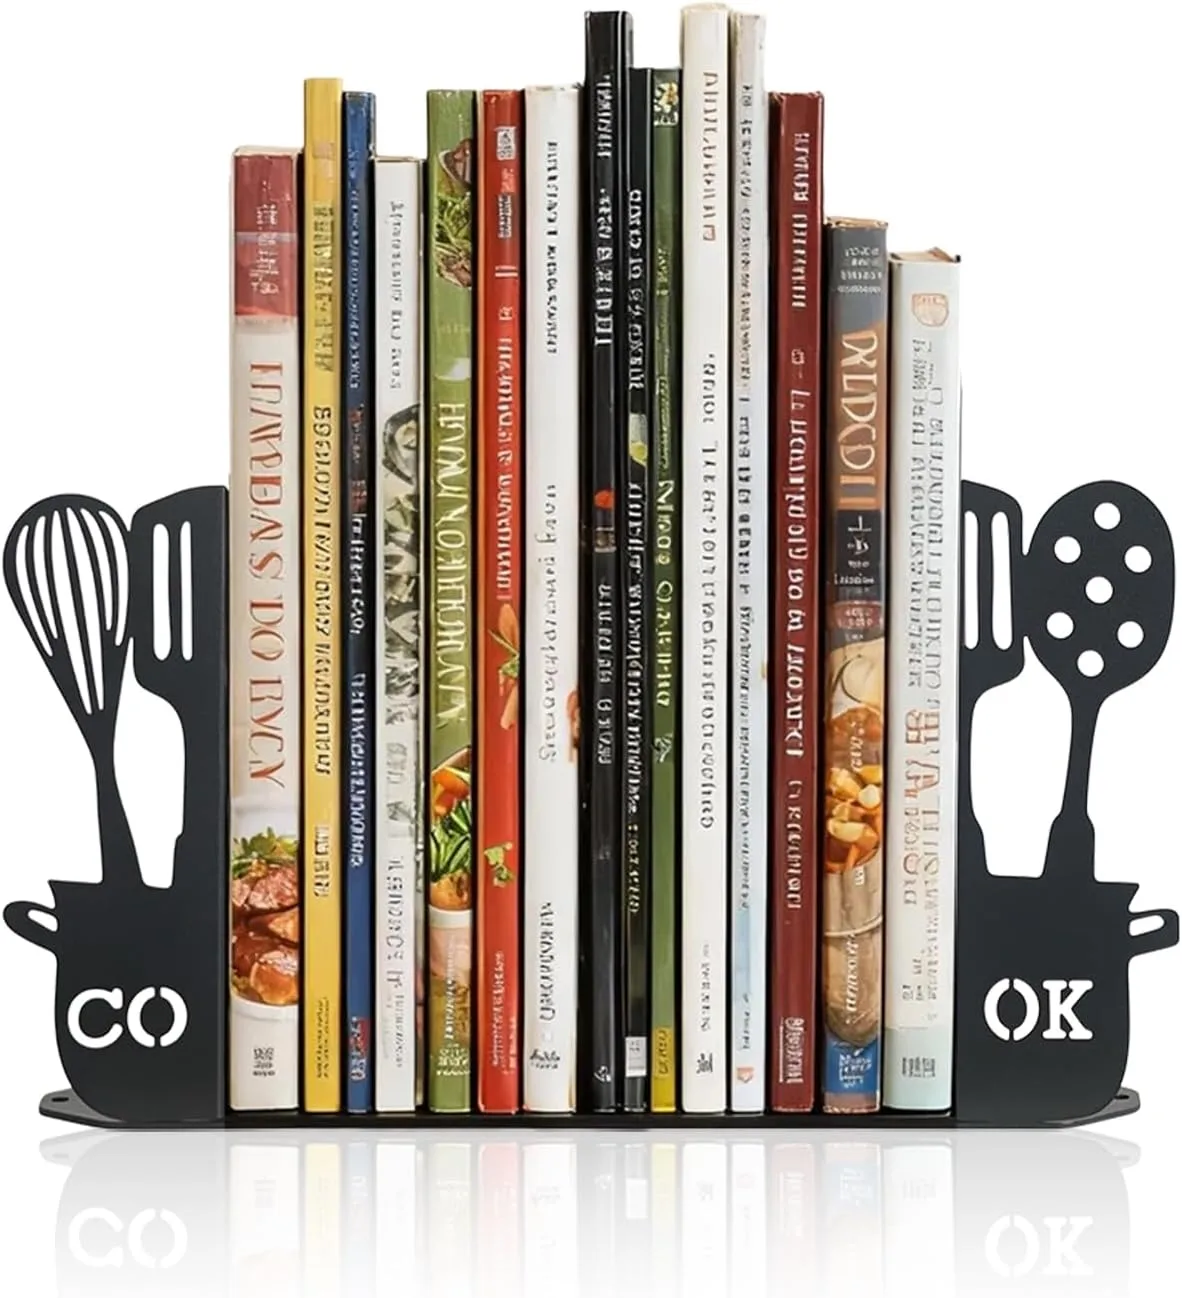
Image source: Bing (Web (fair-use with source credit))
Bookends matter more than people think on shallow shelves. Upright books lean, and a leaning stack pulls the whole row. A non-slip base on the bookend keeps it planted.
On narrow ledges, use L-shaped metal bookends that fit under the front lip.
Maintenance that keeps it standing
- Dust shelves and spines monthly. Grease film builds up fast near cooking zones.
- Re-tighten anchors once a year. Toggle bolts loosen with vibration and temperature swings.
- Rotate books seasonally. It refreshes the look and spreads wear.
- Recheck load after adding new cookbooks. A single large-format book can push a shelf over its rating.
- Inspect the wall for hairline cracks near anchors. Early cracks mean the anchor is pulling.
Safety checks before you walk away
Falling books cause real injuries, especially above seating or walkways. The Consumer Product Safety Commission tracks tip-over and falling-object incidents in homes. A 3-lb hardcover dropping from 6 feet carries enough force to hurt.
Keep the heaviest books on the lowest shelf. Avoid mounting any shelf above a crib, bed, or low sofa. If you live in an earthquake zone, add a thin retaining rail or lean books back against the wall.
Frequently Asked Questions
How deep should shelves be for a cookbook wall?
Aim for 5 to 6 inches of depth for standard and large-format hardcovers. A 4-inch ledge works for paperbacks and small titles only. Measure your tallest and deepest cookbook before you buy anything.
Depth is the single spec that decides whether your books sit safely or tip forward.
Can I hang a cookbook wall without drilling?
Yes, if you keep it light. Adhesive strips are rated 5 to 16 lbs per pair, so stick to paperbacks and slim hardcovers under that limit. Clean the wall first, press firmly for 30 seconds, and wait 24 hours before loading.
Never exceed the strip rating, even briefly.
What's the best way to stop cookbooks from tipping on shallow shelves?
Use a ledge with a raised front lip. That lip is the whole reason picture ledges exist. Add L-shaped bookends with non-slip bases for upright runs.
If depth is tight, stack books horizontally in threes instead of standing them up.
How much weight can a shallow picture ledge hold?
It depends on the shelf and the anchor, not the shelf alone. Manufacturer specs for common ledge shelves often cap loads around 5 to 10 lbs per unit. Toggle bolts into drywall can carry 50 to 100 lbs each.
Mounting into studs carries more than either.
Where should I not mount a cookbook wall?
Avoid any spot directly above the stove, oven, or open flame. Keep books clear of the appliance heat zone per NFPA 101 guidance. Skip walls above cribs, beds, or low seating where a falling book could land on someone.
Sun-facing and damp walls also shorten a collection's life.
How do I keep books from fading or warping on a sun-facing wall?
Rotate your books every few months to even out sun exposure. Consider UV-filtering film on the window if the wall gets direct light. In damp kitchens, keep a small dehumidifier running or store only laminated-cover books on the wall.
Paper absorbs moisture and warps fast.

Similar Posts