Plant Styling for Beginners: Easy Tips to Transform Your
You want a home filled with plants, but every corner you look at feels like a blank canvas and every plant you've ever owned has turned brown within a month. You're not alone, and you're not cursed with a black thumb. Plant styling for beginners really comes down to matching the right plant to the right spot, then arranging a few pots so the whole thing looks like it was planned.
The problem is almost never the plant itself. It's the light in your room or the watering schedule you guessed at, or a decorative pot with no drainage hole holding way too much water. According to USDA hardiness and indoor growing guidance, most common houseplants want temperatures between 65 and 75°F (18 to 24°C) and consistent light, not the extremes we accidentally give them.
Get those conditions right first, and the styling part turns into the fun part.
plant styling for beginners
Plant styling for beginners means matching plants to your light and your watering habits first. Then you arrange pots by height, texture, and color. Start with easy species like pothos or snake plants.
Use pots with drainage. Group plants in odd numbers. Build the look gradually.
Start With Your Space, Not the Plant
Most beginners buy the pretty plant first and figure out placement later. That's backwards, and it's why so many plants end up on a shelf they hate. Do this instead: walk through your home and figure out where you actually spend time, then work out what the light does in those spots.
Light is the variable that matters most, and it changes room to room and season to season. An east-facing window gives gentle morning sun. A south-facing window in summer can cook a fern by noon.
A north-facing window gives soft, consistent light all day, which suits a lot of low-light survivors. Once you know your light, picking plants gets easy.
Watering habits matter just as much. Be honest with yourself about how often you'll actually check on a plant. If you travel or forget things, go for drought-tolerant species that forgive a missed week.
If you love fussing daily, you can handle thirstier plants. Match the plant to your real life, not the life you wish you had.
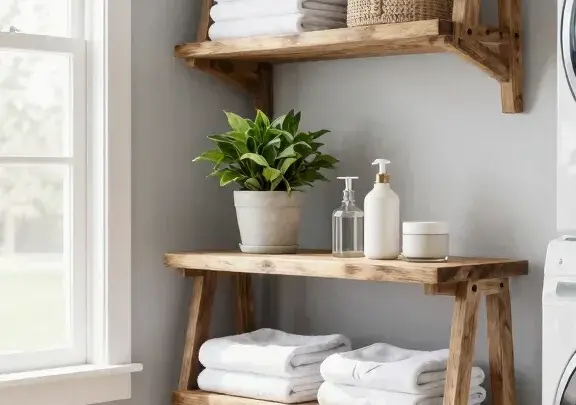
Then think about surfaces. Floor space, shelf space, and hanging space all change what you can style. A small apartment with no spare floor area can still look lush with shelves and a ceiling hook or two.
Measure the spot before you buy, and note the height you have to work with.
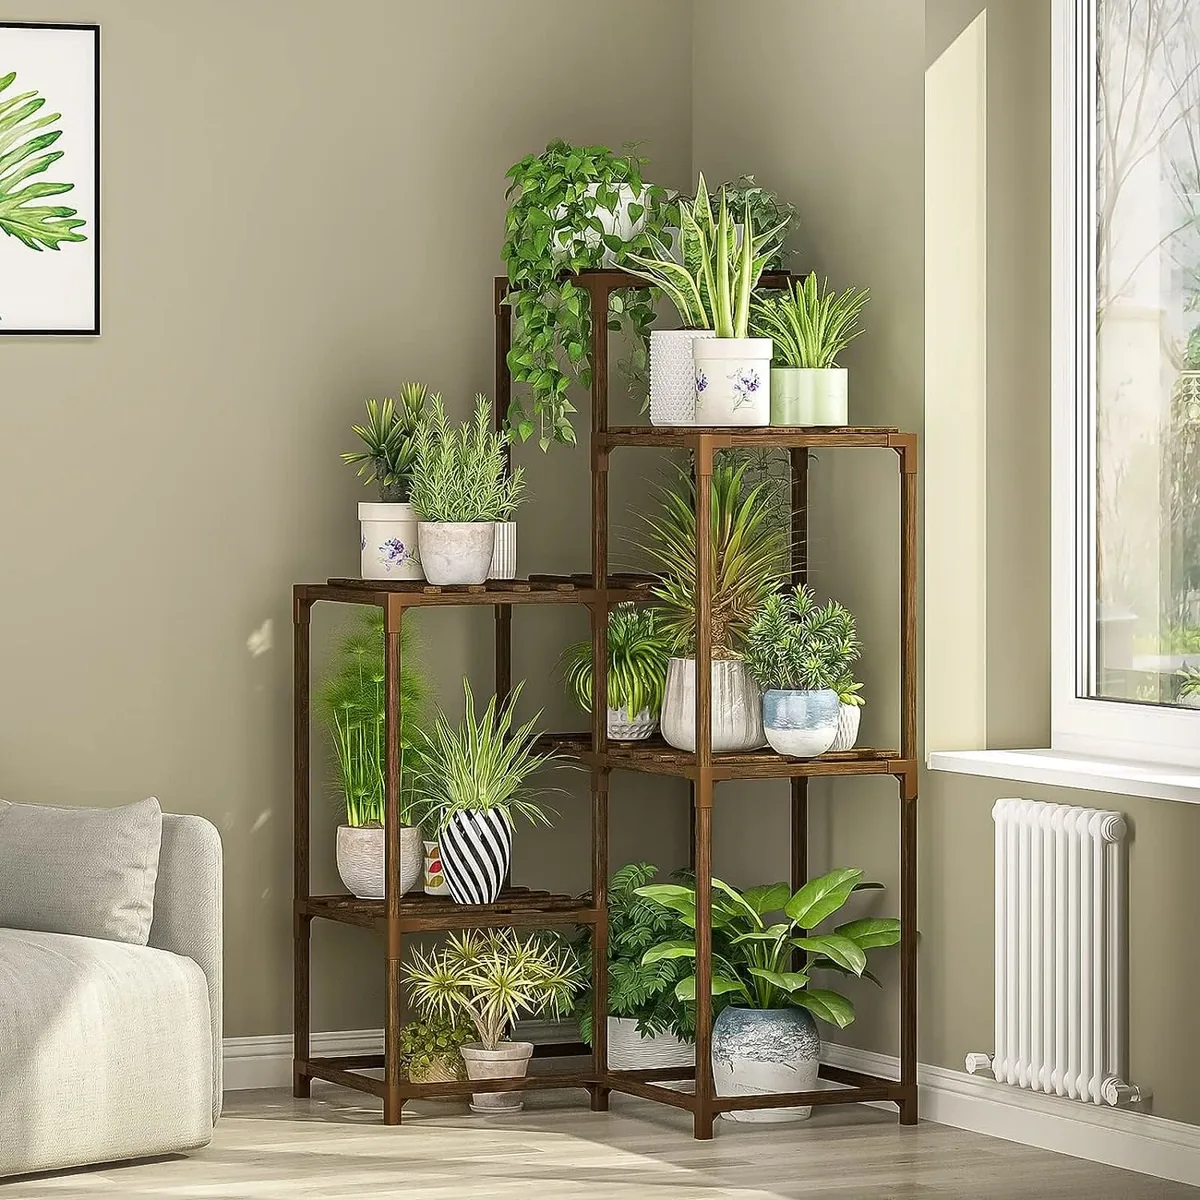
Image source: Bing (Web (fair-use with source credit))
The Three Variables That Decide Everything
Before any plant goes in your cart, you need to nail three things: light, water habits, and space. Get these wrong and you'll fight your plants forever. Get them right and the styling falls into place on its own.
Here's how to think about each one.
Light: what "bright indirect" actually means in your room
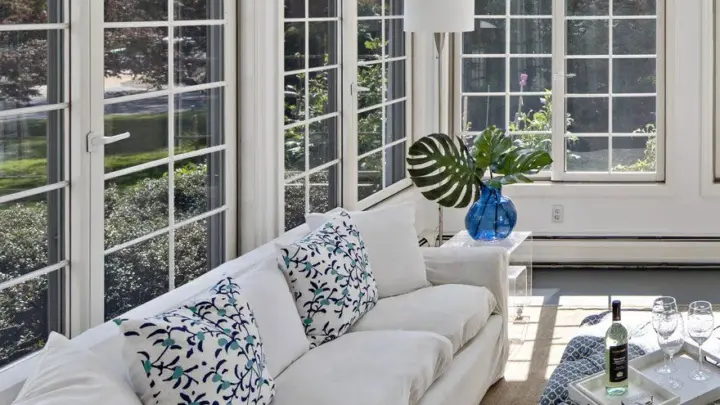
Bright indirect light means the plant sits near a window but out of the direct beam of the sun. Picture the sun streaming through glass onto the floor. That bright patch is direct light.
The spot a foot to the side, still lit but not baked, is bright indirect. That's where most tropical houseplants thrive.
Here's the quick test. Hold your hand about a foot above the spot at midday. If it casts a sharp, defined shadow, you've got direct sun.
If the shadow is soft and blurry, that's bright indirect. If there's barely any shadow, you're in low light. Check the spot at three times of day, because morning and afternoon light differ a lot.
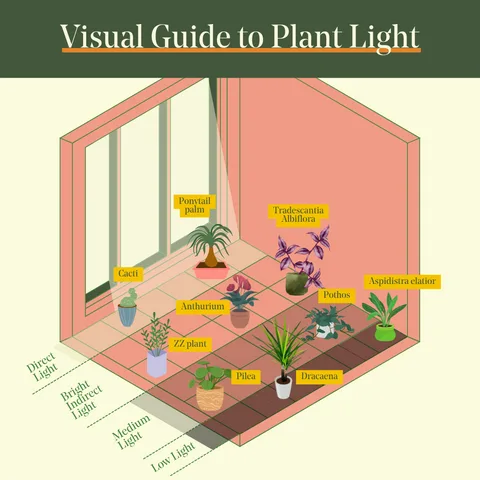
Image source: Bing (Web (fair-use with source credit))
Water habits: honest self-assessment before you buy
If you water every plant on the same day each week, you'll drown some and starve others. The fix is simple: check the soil before you water, not the calendar. Push a finger into the top inch or two.
If it's dry, water. If it's damp, wait. That one habit saves more plants than any gadget.
If you know you'll forget, pick plants that store water in their leaves or roots. Snake plants, ZZ plants, and pothos all tolerate missed waterings. If you're the type who waters on impulse, pick thirstier plants like ferns and calatheas so your habit works with them instead of against them.
Space and surfaces: floor, shelf, or hanging
Not every plant belongs on the floor. Big upright growers like fiddle-leaf figs and bird of paradise earn floor space. Tabletop plants like peperomia and small succulents fill shelves and side tables.
Trailing plants like pothos and string of pearls love a high shelf or a hanging basket where their vines can spill.
If you're renting and can't drill, you're not stuck. Tension rods in window frames, adhesive hooks rated for load, and freestanding tiered stands all give you vertical options without a single screw hole. Just check the weight rating before you hang anything with a heavy pot and wet soil.
Match Plants to Your Conditions
Now you've assessed your space. Time to pick plants that actually fit it. The table below maps common beginner conditions to species that survive them, based on how each plant handles light and water in real indoor settings.
| Your situation | Best beginner plants | Why they work |
|---|---|---|
| Low-light room | Snake plant, ZZ plant, pothos | Tolerate low light and infrequent watering |
| Bright, sunny room | Succulents, jade plant, aloe | Love direct sun, store water in leaves |
| Bathroom with a window | Ferns, calathea, pothos | Handle high humidity well |
| Pet-safe household | Spider plant, prayer plant, parlor palm | Non-toxic per ASPCA guidance |
| Forgetful waterer | Snake plant, ZZ plant, cast iron plant | Drought-tolerant, forgive missed weeks |
Pet safety deserves a closer look. The ASPCA toxic and non-toxic plant database is the reference to check before you bring anything home if you have cats or dogs. Lilies are particularly dangerous to cats, and sago palms are toxic to both.
If in doubt, look it up first.
For low-light rooms, lean on the tough ones. Snake plants and ZZ plants handle shade and neglect better than almost anything else. In bright rooms, succulents and aloes reward that light with slow, steady growth.
Match the plant to the condition and you've already won half the battle.
Pots, Stands, and Hangers: The Styling Layer
This is where styling actually happens. The plant does its thing. The pot, stand, or hanger decides whether the whole look reads as intentional or accidental.
You don't need expensive containers. You need consistency and a bit of height variation.
Drainage holes vs. cachepots
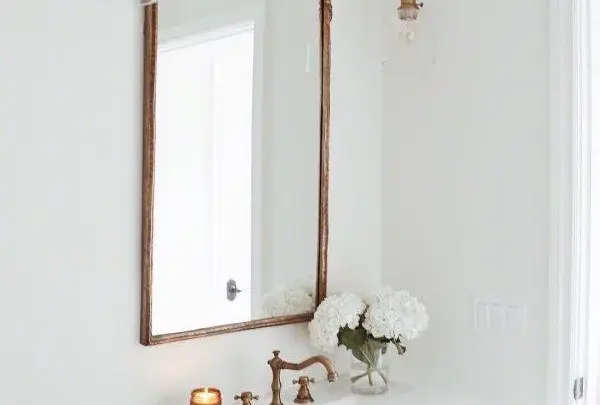
Always choose a pot with a drainage hole for the plant's actual growing container. That hole is what stops water pooling around the roots and causing root rot, which is the number one killer of houseplants. A decorative outer pot, called a cachepot, sits over the functional one and hides the plastic nursery pot inside.
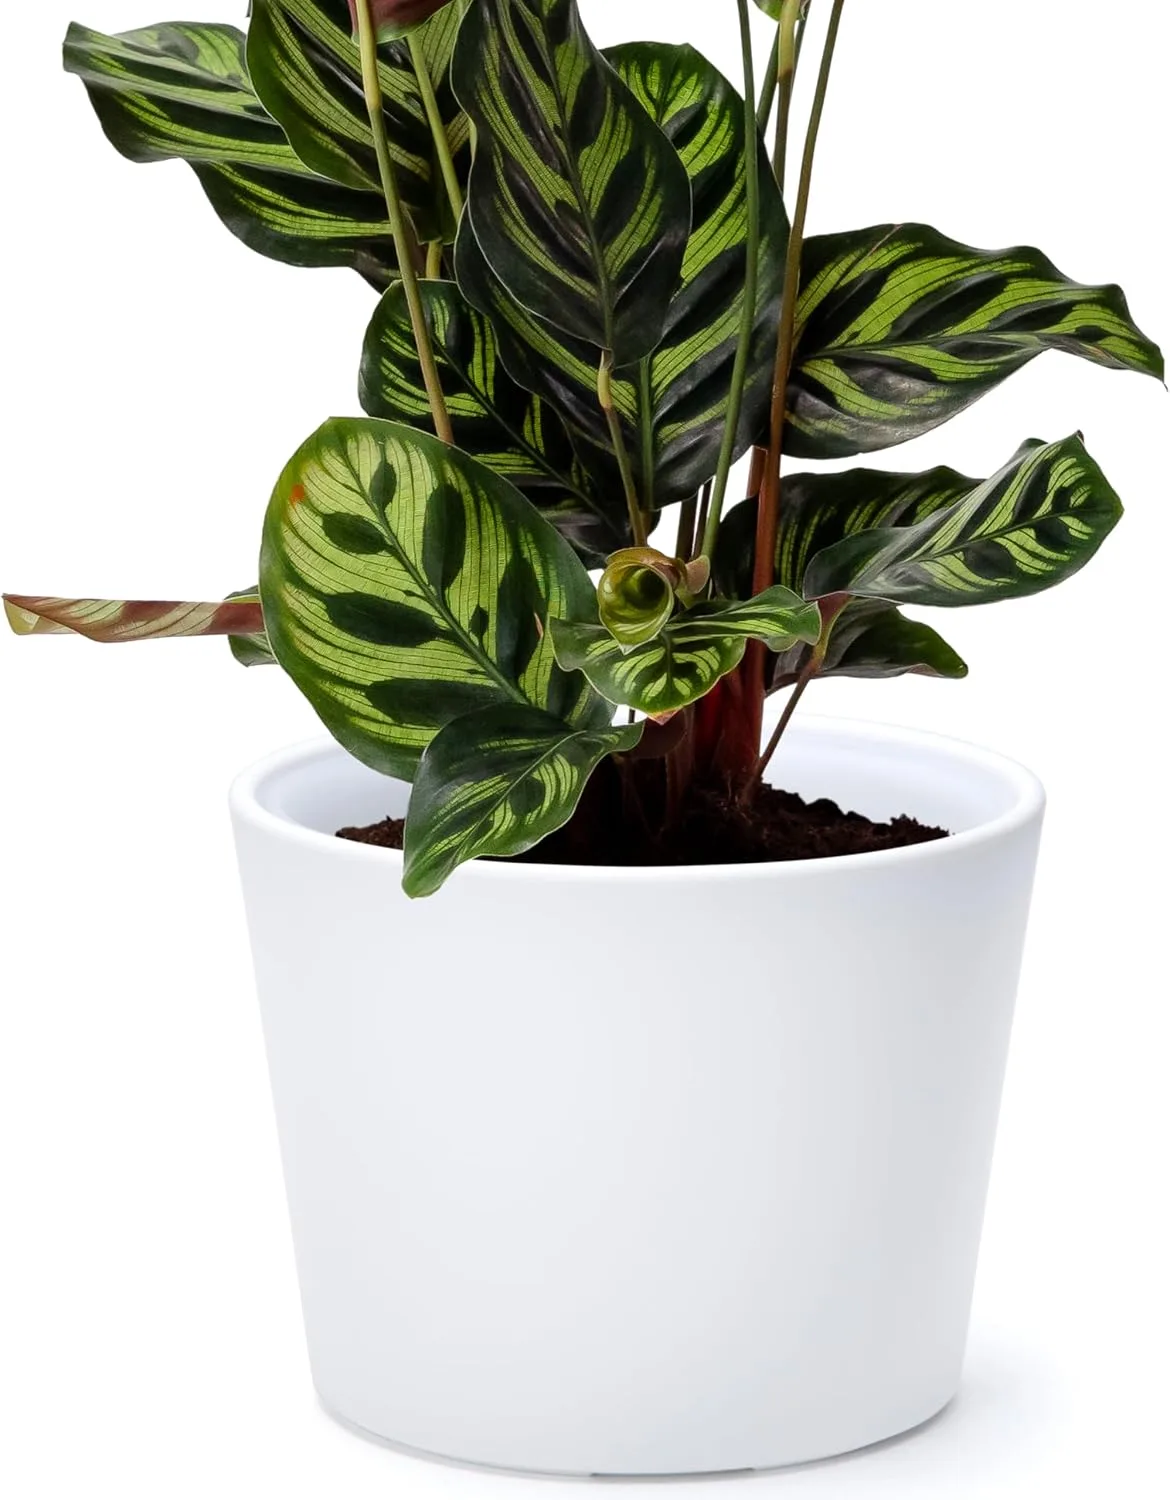
Image source: Bing (Web (fair-use with source credit))
The cachepot trick is the beginner's best friend. Keep the plant in its cheap nursery pot with drainage, then drop it into a beautiful ceramic or woven cachepot. To water, lift the inner pot out, water it over the sink, let it drain, then put it back.
No mess, no rot, and you can swap the outer pot whenever you want a new look.
Choosing pot material and color
Pot material changes both the look and the watering needs. Terracotta breathes and dries out fast, which suits succulents and drought-tolerant plants. Ceramic holds moisture longer, good for plants that like consistent dampness.
Plastic is cheap and light but traps water, so it needs more careful watering. Woven baskets add warmth but need a liner inside.
Color is where beginners often trip. Mixing five bold pot colors in one room looks chaotic. Pick a small palette and repeat it.
Three neutral pots and one accent color reads as designed. All-terracotta looks earthy and cohesive. A run of plain white or matte black looks clean and modern.
Repetition is what ties it together.
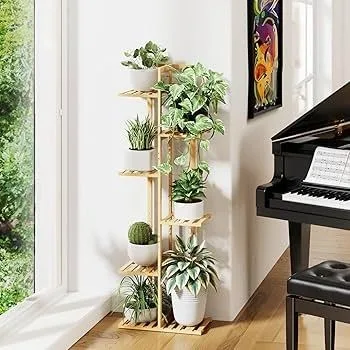
Risers, stands, and vertical options for renters
Height is the secret ingredient most beginners miss. If every pot sits at the same level, the display feels flat. Lift a few plants onto stands, risers, or stacked books to create a visual rhythm.
A tall pedestal under a floor plant, a small riser under a tabletop pot, and a hanging basket above all work together to make the eye travel.
If you can't alter the walls or ceiling, go freestanding. Tiered plant stands, ladder shelves, and rolling carts all add vertical styling without a single fixings. Just watch the weight.
A large ceramic pot filled with wet soil is heavy, so check the stand's load limit before you stack it.
The Grouping Method: How to Make Any Plant Corner Look Intentional
The single fastest way to make plants look styled is to group them. A lone plant on a bare shelf looks random. Three plants close together look deliberate.
Our research into interior styling conventions keeps landing on the same handful of rules, and they're easy to follow even if you've never styled a thing in your life.
The rule of odd numbers and varied heights
Group plants in odd numbers. Three, five, or seven reads as natural to the eye, while even numbers tend to look stiff and paired. Within each group, vary the heights.
Put a tall upright plant behind, a medium bushy one beside it, and a small trailing one spilling forward. That triangle of heights gives the cluster shape.
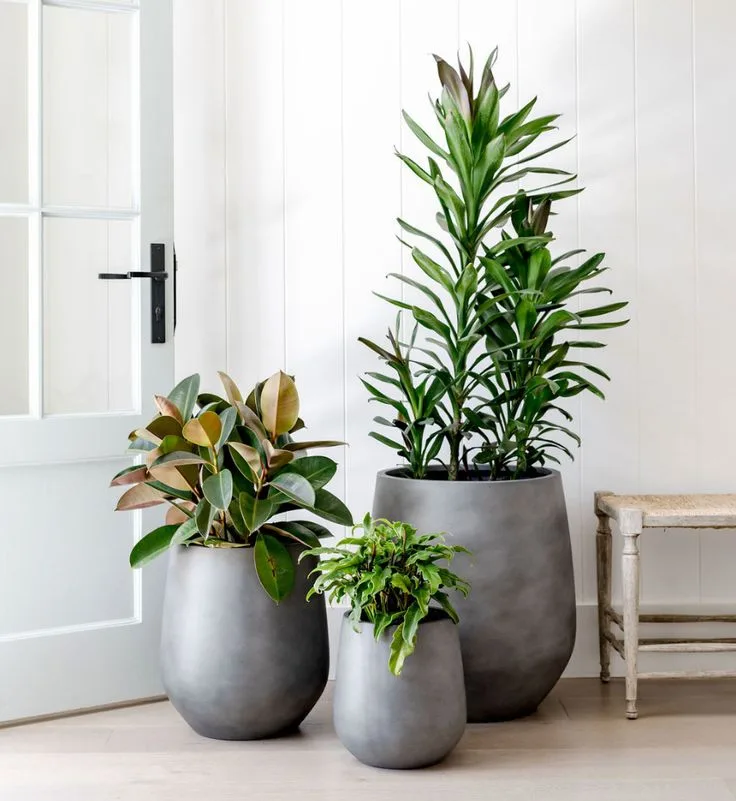
Image source: Bing (Web (fair-use with source credit))
Repeating colors, textures, and materials
Repeating an element is what makes a group feel like one display instead of a random pile. Pick one thread and run it through. It could be a color, like all warm terracotta pots.
It could be a material, like woven baskets. It could be a finish, like matte ceramic. One repeated thread, and suddenly the whole corner looks curated.
Texture matters too. Mix a smooth glossy pot with a rough woven one, and a broad leaf with a fine trailing vine. Contrast in texture keeps the display interesting without adding color chaos.
Just keep the palette tight while you play with texture.
Where to place floor plants vs. tabletop vs. trailing
Floor plants anchor a space. Put them in corners, beside furniture, or flanking a doorway. Tabletop plants add detail at eye level on shelves, coffee tables, and windowsills.
Trailing plants belong up high where their vines can pour down, softening the hard lines of a shelf or the top of a cabinet.
Use the three levels together for a full, layered look. One floor plant, a couple of tabletop pots, and a hanging or high-shelf trailer in the same sight line gives any corner depth. That vertical stacking is what separates a styled space from a plant that just happens to be there.
Common Beginner Mistakes and How to Fix Them
Overwatering is the mistake that kills more houseplants than anything else. The fix is simple: check the soil before you water, and never let a pot sit in a pool of water. If the leaves turn yellow and mushy, you're overwatering.
If they crisp up and drop, you're likely underwatering.
Wrong soil causes problems too. Regular garden soil compacts in a pot and holds water against the roots. Always use an indoor potting mix, and add perlite or pumice for plants that need fast drainage.
Aroids and succulents especially hate dense, soggy soil.
Repotting shock is another easy trap. Moving a plant into a much bigger pot, or repotting in the wrong season, stalls growth for weeks. Go up only 1 to 2 inches in diameter, and repot in spring when the plant is actively growing.
If the roots are circling the pot, that's your signal.
Aesthetic clashes and overcrowding
Even healthy plants can look messy if they're styled badly. Mixing too many pot colors in one room is the classic error. Stick to a tight palette, like three neutrals plus one accent, and repeat it across the display.
Consistency beats variety every time.
Overcrowding hurts plants, not just the look. When leaves press together, airflow drops and pests spread fast. Leave a little breathing room between pots.
If a shelf feels packed, swap one plant for a smaller one instead of squeezing another in.
Pest problems and pet toxicity warnings
Check new plants before they join your collection. Fungus gnats, spider mites, and mealybugs hitch a ride home from shops and nurseries all the time. Isolate a new plant for a week or two, and inspect the undersides of leaves where pests hide.
A weekly check catches infestations early, when they're easy to beat.
If you have pets, verify every species before buying. Lilies are highly toxic to cats, and sago palms are dangerous to both cats and dogs. The ASPCA database is the source to check.
Even non-toxic plants can cause stomach upset if chewed, so keep small pots out of reach.
Keeping It Alive: Simple Ongoing Maintenance
Styling only works if the plants stay alive, and that comes down to a short, repeatable routine. Set a weekly check-in. Look at each plant, feel the soil, and rotate the pots a quarter turn so growth stays even.
Fifteen minutes a week keeps most collections healthy.
Water by need, not by schedule. Stick a finger into the top inch or two and water only when it's dry. In winter, most plants slow down and need far less water.
In summer, they drink more. Adjust with the season instead of following a fixed calendar.
Wipe leaves every few weeks. Dust blocks light and slows growth, especially on broad-leafed plants. A damp cloth does the job.
While you're there, check for pests and remove any dead or yellowing leaves.
When and how to repot
Repot when roots grow out of the drainage holes or circle the surface. That usually happens every 12 to 18 months for fast growers. Choose a pot 1 to 2 inches wider than the current one.
Too big a jump means excess wet soil and root rot.
Spring is the best time to repot. The plant is actively growing and recovers fast. Water it a day before, gently loosen the roots, and settle it into fresh indoor mix.
Skip fertilizing for a few weeks so the roots can adjust without being burned.
Seasonal adjustments for winter and summer
Winter changes everything indoors. Light drops, heating dries the air, and growth nearly stops. Move plants closer to windows if they can handle it, cut back on watering, and hold off on fertilizer until spring.
Mist or group plants to lift humidity if the air feels dry.
Summer gives you more light and faster growth. Watch for scorching on windowsills that get direct afternoon sun. Rotate plants so no side gets baked, and water more often as the soil dries faster.
If you move plants outdoors for the season, acclimate them slowly to avoid leaf burn.
Frequently Asked Questions
How many plants should a beginner start with?
Start with three to five plants. That's enough to learn the basics without getting overwhelmed. Choose species with similar light and water needs so one routine covers them all.
Add more only once the first group is thriving.
Can I style plants in a windowless room?
Yes, but you'll need a grow light. Pick low-light-tolerant species like snake plants or ZZ plants, and supplement with a full-spectrum LED. Even a modest bulb on a timer keeps most tough plants going.
Real sunlight is still the easiest option if you have any.
Do I really need grow lights?
Only if your space lacks bright natural light. If you have a window that gets several hours of soft daylight, most houseplants will manage without one. Grow lights matter most in basements, internal rooms, or north-facing flats.
Start with a simple clip-on LED and see how your plants respond.
Are cheap pots from discount stores okay?
Yes, as long as they have drainage holes. A cheap terracotta or plastic pot works fine if water can escape. Spend your budget on the plant and a decent indoor potting mix instead.
Decorative cachepots can be thrifted, and they don't need drainage if the inner pot does.
How do I know if my plant is getting too much or too little light?
Watch the leaves. Too much direct sun causes scorched, bleached patches and crispy edges. Too little light makes plants stretch tall and thin with pale or small new leaves.
If growth looks leggy, move the plant closer to a window. If leaves burn, pull it back into indirect light.
Your Beginner Plant Styling Decision Guide
You don't need a green thumb. You need the right plant matched to the right spot, a pot that drains, and a weekly check-in. Get those three things right and everything else falls into place.
Styling comes second, and it's the easy part once the plants are happy.
Here's the short version. Assess your light first, then pick species that fit it. Use pots with drainage and hide them in decorative cachepots.
Group plants in odd numbers, vary the heights, and repeat one color or material to tie the look together. Lift a few onto stands for depth.
If you're unsure where to start, go with a pothos, a snake plant, and a spider plant. All three forgive beginner mistakes and tolerate a range of conditions. Give them decent light, water when the soil dries, and rotate them weekly.
Then add a fourth plant once those three look settled.
Build slowly. The best-styled homes aren't filled overnight. They grow one plant at a time, and so will yours.

Similar Posts