Spa Bathroom Without Renovation: Easy Ideas
Ripping out tile, rerouting plumbing, and paying a contractor isn't on the table for most people who want a spa bathroom without renovation. You can still get the mood, the scent, the lighting, and the textures of a high-end hotel bath. You just have to work with what's already behind your walls.
The trick is knowing which upgrades are reversible and which will cost you a security deposit. As of 2026, the National Electrical Code (NEC 210.8) still requires GFCI protection for all bathroom receptacles, and that single rule shapes almost every decision you'll make. Let's walk through the branches so you can pick the right path in about five minutes.
spa bathroom without renovation
You can build a spa bathroom without renovation by layering reversible upgrades. Swap the showerhead, add warm lighting, introduce natural textures, and control humidity. Anything requiring drywall removal, plumbing reroutes, or hardwired fixtures counts as a renovation.
Skip those and you keep your lease and your deposit safe.
What No-Reno Spa Actually Means (And What It Can't Do)
A spa bathroom without renovation means cosmetic and plug-in changes only. You're changing surfaces, lighting, scent, and accessories. You're not changing structure.
Here's the honest dividing line.
Renovation required:
- Steam showers and built-in steam generators
- Whirlpool or jetted tubs
- Heated tile floors
- Wet-room conversions
- Relocated plumbing lines or drains
- Hardwired sconces and recessed lighting
No renovation needed:
- Showerhead and filter swaps
- Plug-in lighting on existing GFCI outlets
- Adhesive or tension-mounted shelving
- Removable wallpaper and peel-and-stick tile
- Freestanding plug-in soaking tubs
- Towel warmers, diffusers, and bath trays
That second list is longer than most people expect. The gap is real, though. A plug-in bucket towel warmer feels nice.
A built-in warming drawer feels like a hotel. You're buying 80% of the experience for 5% of the cost.
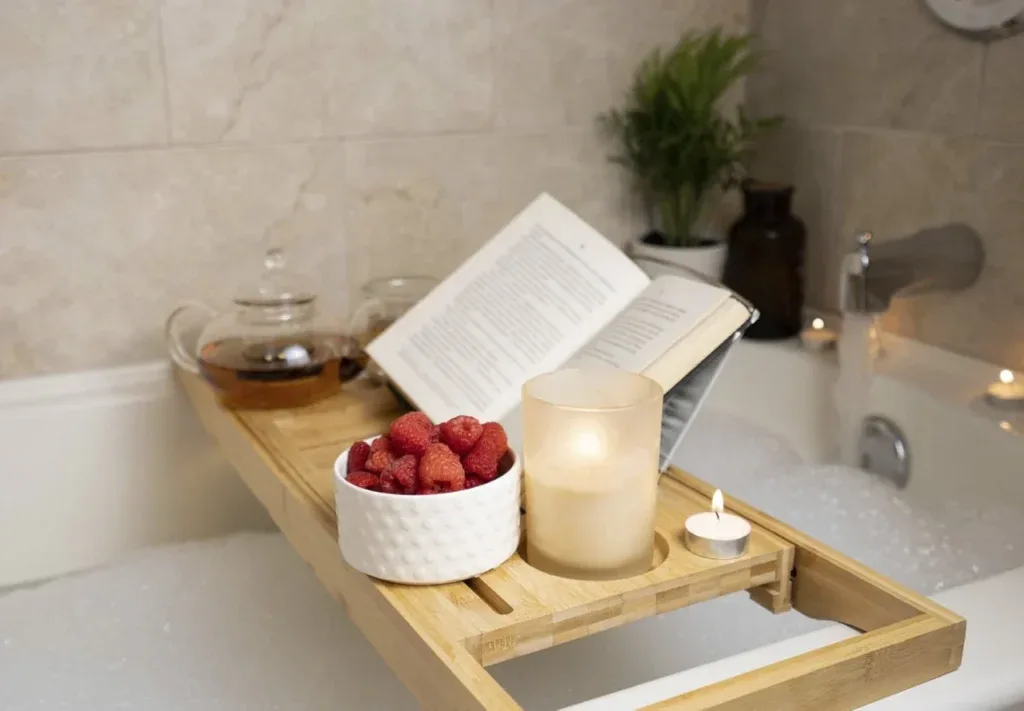
Image source: Bing (Web (fair-use with source credit))
First Question: Renter, Owner, or Host?
Your ownership status decides everything downstream. Answer this before you buy a single item.
If you rent
Assume your lease bans permanent adhesives, drilling, and fixture replacement. Read the actual clause. Many leases allow "reasonable" swaps like a showerhead if you restore it at move-out.
Your deposit is the real budget. A $600 upgrade that costs $800 in deducted damages is a loss.
If you own
You've got more room. You can drill, hardwire, and use permanent adhesive. The limit is your willingness to undo it later, not a landlord's rules.
If you host
Go fast and go visual. Airbnb guests judge a bathroom in three seconds. Peel-and-stick tile, warm bulbs, and matching towels beat expensive fixtures every time.
Audit your bathroom before you buy anything
Walk through these four checks.
- Ventilation. Is there an exhaust fan? Run it. Hold a tissue to the grille. If it doesn't pull, humidity will wreck every adhesive upgrade you make.
- Outlets. Count them. Are any GFCI? Per NEC 210.8, bathroom receptacles must be GFCI-protected. No GFCI means no plug-in fixture near water.
- Existing surfaces. Bare drywall, glossy tile, and textured stone each need different adhesives. Glossy tile rejects most peel-and-stick products.
- Humidity baseline. Run the shower for five minutes. If the mirror fogs for 20 minutes after, you have a ventilation problem, not a decor problem.
Fix ventilation first. Everything else depends on it.
The Decision Tree: Pick Your Path in 5 Minutes
Read the branch that matches you. Skip the rest.
If you're a renter in a humid bathroom with no fan
You're in the highest-risk branch. Skip peel-and-stick tile and removable wallpaper. Moisture gets behind them and grows mold.
Do this instead:
- Swap the showerhead for a handheld model (reversible, no adhesive)
- Add a plug-in LED strip with 3M mounting tape on the mirror frame
- Use a waterless diffuser, not an ultrasonic one, so no oil mist lands on surfaces
- Leave the exhaust window cracked or run a small plug-in dehumidifier
Keep total spend under $150. Assume nothing survives the move.
If you're a renter with good ventilation and a flexible lease
You can go one tier deeper. Add tension-rod shelving, a teak mat, and a plug-in sconce near the mirror.
Test any adhesive on a hidden corner first. Wait 48 hours. Check for residue.
If it lifts paint, stop.
If you own your home but don't want a full reno
You've got the widest path. Hardwire a sconce. Drill for floating shelves.
Use semi-permanent tile in dry zones.
The one rule: keep anything water-adjacent reversible. You'll thank yourself when the grout fails in year three.
If you're staging for Airbnb or resale
Optimize for the photo. Warm 2700K bulbs. Matching towel set.
A stone tray with rolled towels. One eucalyptus bundle.
Skip anything a guest might damage. Contact paper and peel-and-stick look great in photos and peel in six months under guest use.
A framed mirror, a warm bulb, and clean white towels cost less than $80. That's the whole staging playbook.
Tier 1 — No-Touch Upgrades (Zero Risk, Under $200)
Tier 1 changes nothing you have to undo. No adhesive, no drilling, no fixture swaps.
Lighting sets the tone more than anything else in the room. Swap your overhead bulb for a 2700K to 3000K LED at 300 to 500 lumens. That's the warm, dimmable range hotels use.
Bathroom-grade bulbs also need IP44 minimum if they sit near a wet zone.
Scent comes second. A waterless diffuser runs 4 to 8 hours on a charge and never mists oil onto surfaces. Eucalyptus bundles hung from a tension rod release scent when steam hits them.
Shower steamers and essential oil discs work the same way: water-activated, no electricity.
Texture is where the room starts to feel expensive.
- Teak or bamboo bath mat
- Diatomite stone mat (touches dry in about 30 seconds)
- Rolled linen or Turkish cotton towels
- A stone or wooden tray corralling soap and jars
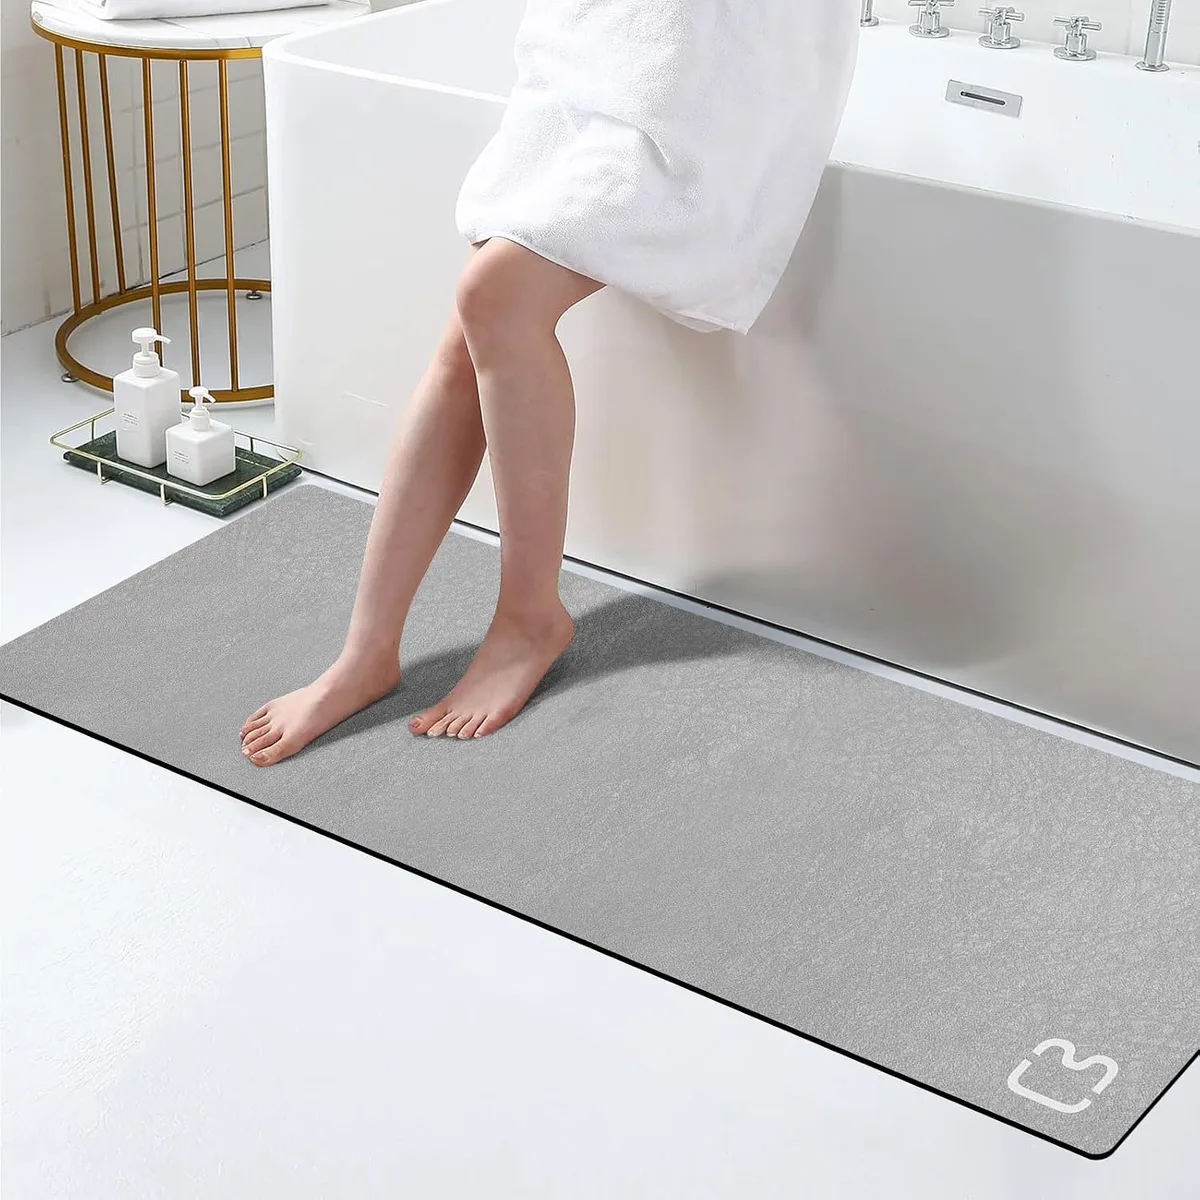
Image source: Bing (Web (fair-use with source credit))
Sound and styling finish it. A small Bluetooth speaker on a shelf, one ceramic jar, one small plant, a few smooth stones. Stop at four items.
Over-cluttering reads as messy, not spa.
Tier 1 total: $80 to $200. Everything here survives a move.
Tier 2 — Plug-In & Swap Upgrades (Under $1,500)
Tier 2 involves swapping fixtures and plugging things in. Still reversible, but each item carries a small risk.
Showerhead swaps
A handheld or rain showerhead that screws onto your existing arm is the single biggest sensory upgrade you can make. Check the thread size first: US models use 1/2-inch NPT fittings, UK and EU models often use G1/2 BSP. They look similar and don't always seal against each other.
Flow rate matters too. Modern low-flow heads run 1.8 GPM. Standard older heads run 2.5 GPM.
If your water pressure is weak, a rain head will feel like a drizzle. A handheld with a diverter gives you both.
Shower filters
Shower filters handle two different problems, and the certification tells you which one you're buying.
- NSF/ANSI 42 covers aesthetic issues: chlorine taste and smell
- NSF/ANSI 53 covers health-related contaminants
Replace media every 3 to 6 months, or roughly every 10,000 gallons. Hard-water regions get closer to 3 months.
Plug-in towel warmers and portable tubs
Bucket-style towel warmers plug into a GFCI outlet and warm two towels in about 20 minutes. Freestanding plug-in soaking tubs exist, but they need space and a drain path. Most renters skip them.
Tension rods, shelves, and removable wallpaper
Tension rods hold 10 to 30 pounds depending on the model. Textured or uneven tile defeats them. Look for rubber-padded ends.
Removable wallpaper works in dry zones only. Above a sink, yes. Inside a shower, never.
Tier 3 — Cosmetic Semi-Permanent (Reversible, But Read the Fine Print)
Tier 3 looks permanent but comes off cleanly if you follow the rules. It's the riskiest tier and the one most likely to cost you a deposit.
Peel-and-stick tile is the headline act here. It sticks to smooth, matte, sealed surfaces. It refuses to stick to glossy ceramic, textured stone, or unpainted drywall.
Test a single tile in a hidden corner first, then wait 48 hours.
Moisture is the killer. If your ventilation doesn't pass the tissue test from earlier, skip peel-and-stick entirely. Water gets behind the adhesive, sits on the grout, and grows mold you can't see until you pull it up.
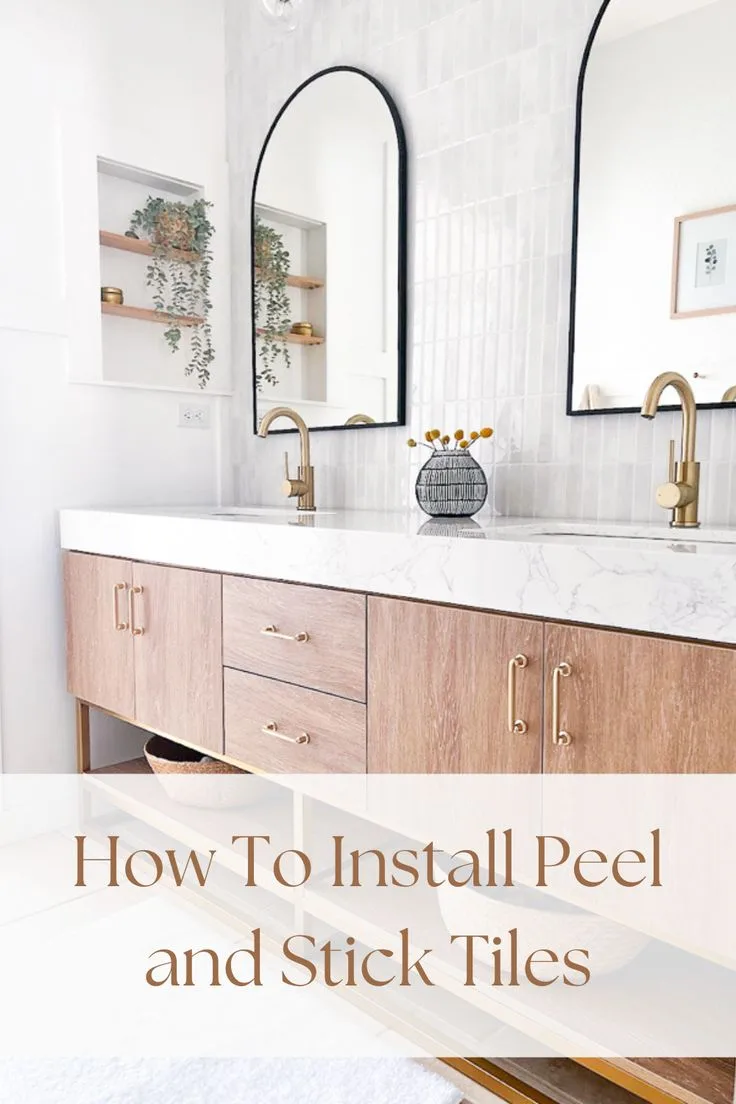
Image source: Bing (Web (fair-use with source credit))
Adhesive choice drives everything. Manufacturer specs list removability ratings. "Repositionable" means low residue.
"Permanent bond" means you'll be scraping with a plastic blade and rubbing alcohol.
Apply in dry zones: backsplashes, vanity fronts, the wall behind a freestanding tub. Avoid inside the shower surround. Steam wins that fight every time.
Removable wallpaper follows the same logic. Dry zones only. Never above a shower or directly over a sink where splashes land.
When should you stop and call a pro? If the upgrades you want involve plumbing lines, new outlets, or structural changes, you've left Tier 3. That's a renovation.
Own it and hire someone.
Mistakes That Kill the Spa Vibe (And Your Deposit)
Cool-white LEDs are the fastest way to wreck a spa bathroom. A 4000K bulb makes the room feel like a dentist's office. Stick to 2700K to 3000K.
Over-cluttering is the second most common mistake. Aggregated reviews of spa-style bathrooms consistently show that fewer, larger objects photograph and feel better than many small ones. Four props per zone, max.
Skipping ventilation fixes causes the most expensive failures. Every adhesive, every peel-and-stick panel, every removable wallpaper edge depends on dry air. Fix the fan or open the window before you spend a dollar on decor.
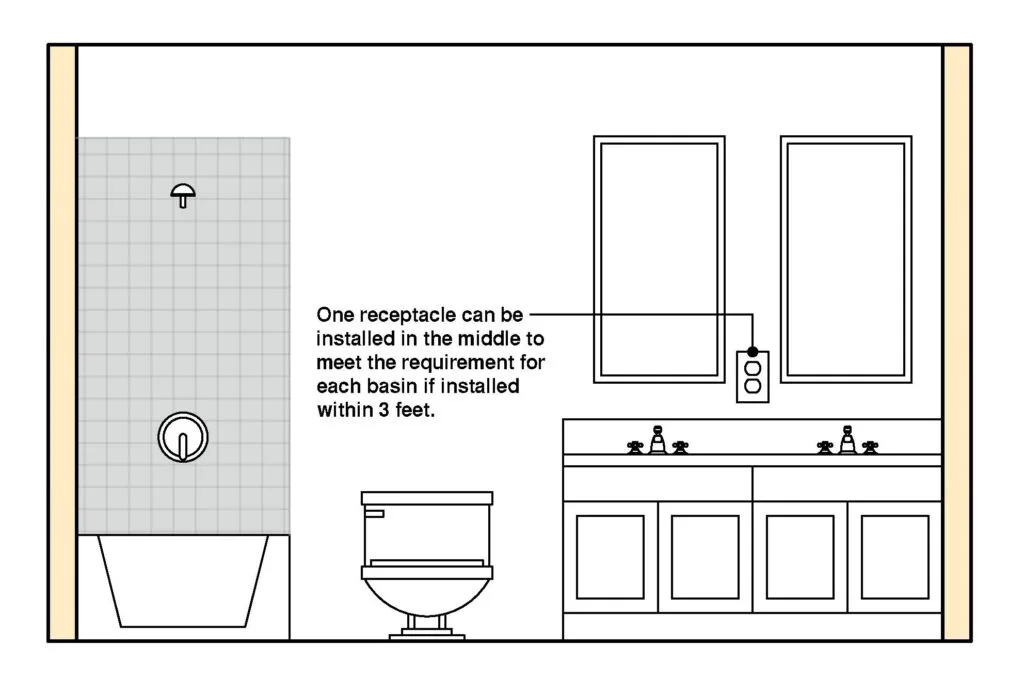
Image source: Web (Bing) / buildingcodetrainer.com (Web image (fair-use with source credit))
Ignoring GFCI and IP44 ratings is a safety and legal issue, not a style one. Per NEC 210.8, bathroom receptacles must be GFCI-protected. In the UK, BS 7671 defines bathroom zones where only IP44 or higher fixtures are allowed.
Assuming "removable" means "no damage" is the final trap. Every adhesive leaves something behind. Budget an hour of cleaning per surface at move-out, or lose part of your deposit.
Mismatched metals read as cheap. Pick one finish (matte black, brushed nickel, or brass) and stick to it for every visible fixture.
Costs, Maintenance, and Move-Out Reality
The three tiers give you three very different budgets.
| Tier | Typical Spend | Reversible? | Best For |
|---|---|---|---|
| Tier 1: No-Touch | $80–$200 | Yes, instantly | Renters, small spaces |
| Tier 2: Plug-In & Swap | $200–$1,500 | Yes, with care | Renters with flexible leases, owners |
| Tier 3: Semi-Permanent | $300–$1,500 | Yes, with effort | Owners, staging, dry zones only |
Maintenance is where the spa feel survives or dies.
- Weekly: swap towels, wipe stone mats, refill or recharge diffusers
- Monthly: rinse shower filter housing, check adhesive edges for lifting
- Seasonal: deep-clean grout lines, replace filter media, replace eucalyptus
Move-out prep is its own workflow. Peel from a corner at a low angle using a hair dryer on low heat. Wipe residue with rubbing alcohol.
Patch any nail holes with spackle, then touch up paint. Photograph everything before you hand back the keys.
FAQ: Quick Answers to the Questions That Actually Come Up
Can you really get a spa bathroom without renovation?
Yes, if you stick to cosmetic and plug-in upgrades. Showerhead swaps, lighting, scent, textures, and removable tile cover most of the sensory experience. Structural features like steam, jets, and heated floors require a full renovation.
What's the cheapest first upgrade?
Lighting. Swapping to a 2700K to 3000K LED bulb at 300 to 500 lumens costs under $10 and changes the entire mood. Do this before anything else.
Do shower filters actually do anything?
They do, but only what their certification covers. NSF/ANSI 42 handles chlorine taste and smell. NSF/ANSI 53 handles health-related contaminants.
Check the box before you buy.
Will peel-and-stick tile damage my tile?
It can leave adhesive residue, especially on glossy or unsealed surfaces. Test a single tile in a hidden spot first. Use repositionable adhesive products and remove them with low heat and rubbing alcohol.
How long do no-reno upgrades last?
Tier 1 items last indefinitely with normal care. Tier 2 shower filters need replacing every 3 to 6 months. Tier 3 peel-and-stick typically holds 1 to 3 years in a well-ventilated bathroom, less in a humid one.
Does this work in a rental with no exhaust fan?
Partially. Skip every adhesive-based upgrade. Use a plug-in dehumidifier, leave the door open after showers, and stick to Tier 1 items that lift off in seconds.

Similar Posts