Art Shelf Above Desk: Stylish Storage & Display Ideas
Getting an art shelf above desk right isn't about buying the fanciest floating plank. It's about three numbers: mounting height, shelf depth, and head clearance. Get those wrong and your prints look stranded in the middle of the wall, or your frames tip forward the moment you bump the desk.
In our research, the most common ceiling for a comfortable setup is about 18 to 24 inches of clearance between the desk surface and the bottom of the shelf. That's the zone where art sits above your monitor without crowding your sightline. Let's break down how to picture the whole thing before you drill a single hole.
art shelf above desk
An art shelf above a desk is a shallow wall shelf or picture ledge mounted high enough to display framed prints while keeping the work surface clear. Mount it 18 to 24 inches above the desktop, with depth matched to frame thickness. Go deeper than 8 inches and it crowds your monitor and your head space.
Why This Is a Visual Decision, Not a Shopping One
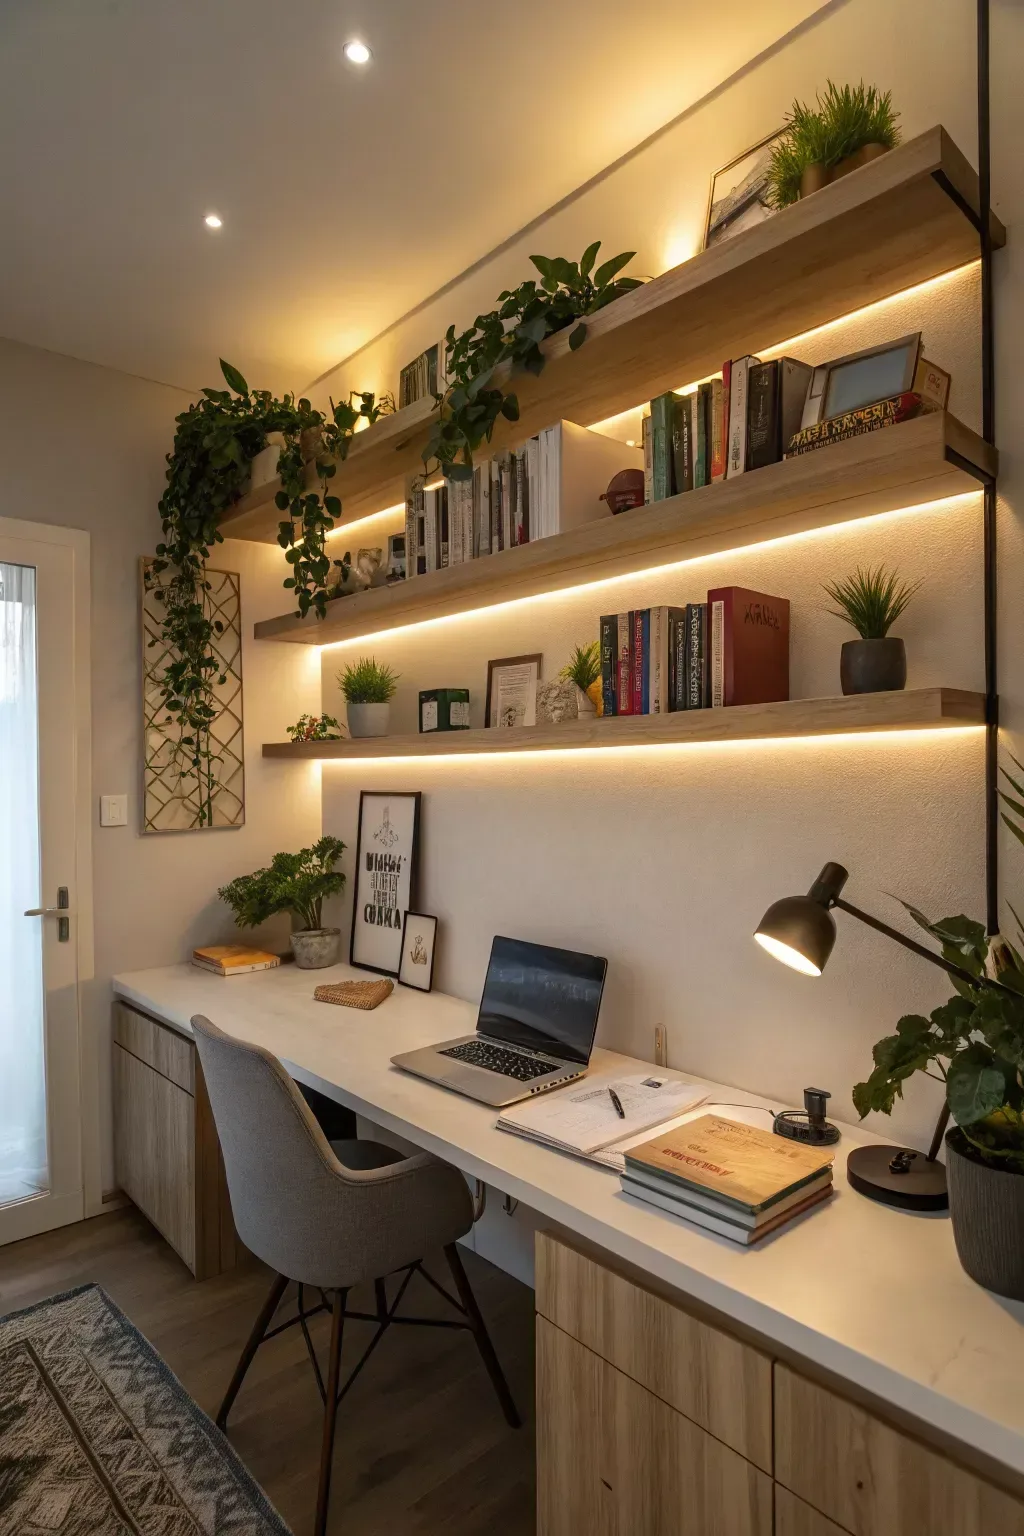
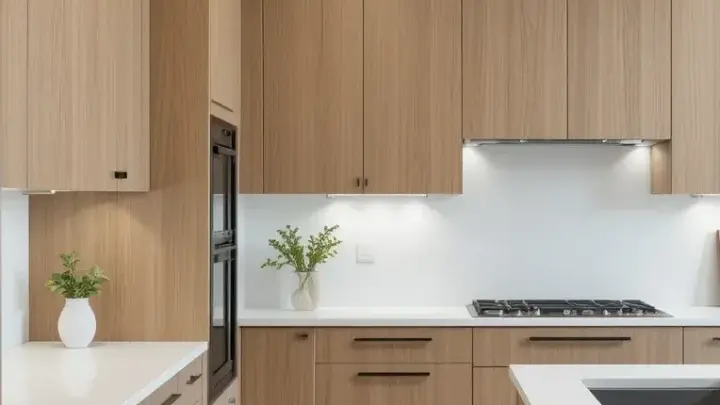
Image source: Bing (Web (fair-use with source credit))
Here's the trap. Most buying guides list materials and dimensions. None of them show you what a 10-inch-deep shelf looks like hovering over a 5-foot desk.
That's the part that actually decides whether your setup feels right.
Spend a minute picturing your own desk right now. Where's the top of your monitor? Where do you rest your eyes when you look up?
The shelf needs to live in the band between those two reference points. A diagram of this would show a vertical strip from monitor top to roughly six inches above, and that strip is your sweet spot.
The other visual factor is proportion. A 48-inch shelf centered over a 60-inch desk reads balanced. The same shelf on an 80-inch desk looks undersized and orphaned.
In our research, aggregate user photos on design forums repeatedly show this mismatch as the number-one "why does this look off?" complaint.
So before we talk products, we're going to teach you to see the space. Height, depth, clearance, span. Once you can read those relationships, the shelf itself becomes the easy part.
What You're Actually Picturing: Shelf, Ledge, or Hutch?
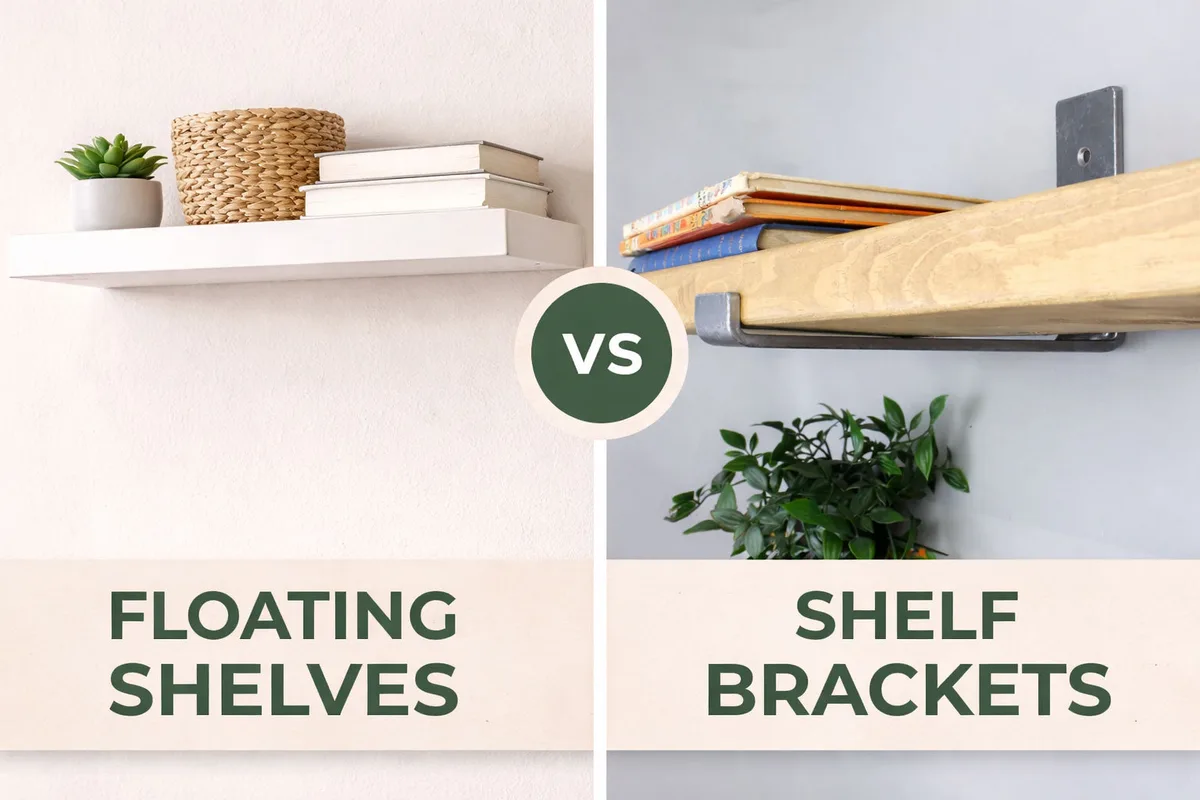
Image source: Bing (Web (fair-use with source credit))
There are three main families here, and each one solves a different visual problem. Picking the wrong one is why a lot of setups feel clumsy even when the install is fine.
The floating shelf
A floating shelf mounts flush to the wall with hidden hardware, usually a French cleat or a metal rod inserted into a bored hole. It's the most flexible option because it holds books, small plants, leaning frames, or standing pieces. It also needs more depth to look right.
Anything under 4 inches deep reads skimpy on a floating shelf.
A floating shelf is best for people who want display space, not just art. If you rotate between framed prints, small sculptures, or reference books, this is your pick.
The picture ledge
A picture ledge is a shallow shelf with a raised front lip. The lip stops frames from sliding off when you lean them back against the wall. Standard depth runs 3 to 4 inches, which is just enough for leaning prints and nothing else.
This is the cleanest look for pure art display. It reads like a gallery rail. Manufacturer specifications confirm most picture ledges top out around 5 inches deep for a reason: deeper than that and leaning frames tilt too far back to see properly.
The hutch or desk shelf
A desk hutch sits on the desk itself, or mounts to the wall with a lower profile that connects visually to the desk. This is the runner-up for small spaces because it doubles as monitor riser and art display.
The visual difference matters. A wall-mounted shelf floats in its own zone. A hutch connects to the desk and makes the whole setup feel anchored.
If you want one rule: choose a ledge for art-only, a floating shelf for mixed display, and a hutch when you're short on wall height or floor space.
The Three Numbers That Decide Everything: Height, Depth, Clearance
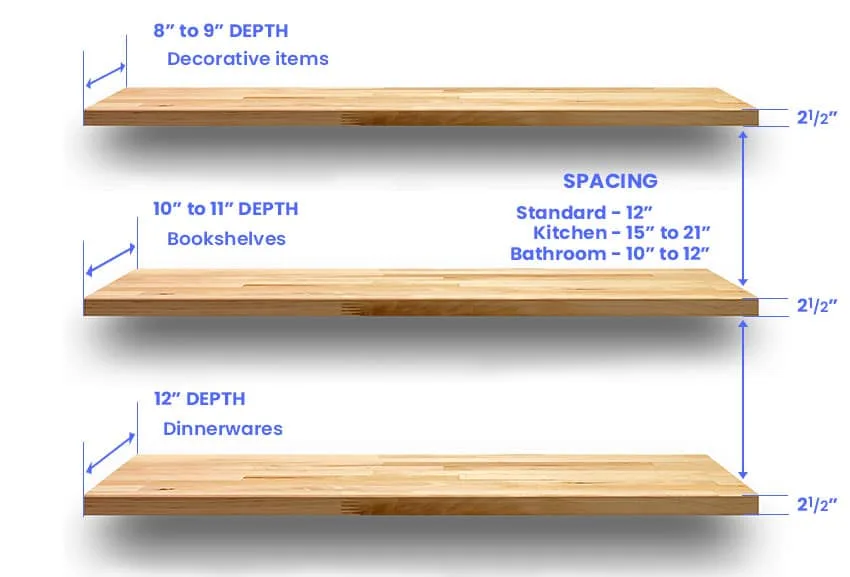
Image source: Bing (Web (fair-use with source credit))
This is the section to screenshot. Every visual problem you'll hit traces back to one of these three measurements.
Height: where art actually belongs
Per American Society of Interior Designers display guidance, artwork is generally placed so its center sits around 57 to 60 inches from the floor. But above a desk, you need a second reference: the monitor. A shelf mounted 5 to 10 inches above the top edge of your monitor keeps art in your natural upward sightline.
Measure from your desk surface, not the floor, when you're working out shelf height. If your desk sits 29 inches high and your monitor top reaches 18 inches above that, your shelf bottom wants to land between 23 and 28 inches above the desk.
Depth: match the shelf to what's leaning on it
This one trips people up constantly. A 3-inch ledge holds leaning frames perfectly. A 3-inch floating shelf looks fragile.
Depth needs to match the shelf type and the load.
| Shelf type | Ideal depth | Best for |
|---|---|---|
| Picture ledge | 3 to 4 inches | Leaning framed prints |
| Shallow floating shelf | 4 to 6 inches | Small framed art, standing pieces |
| Standard floating shelf | 8 to 10 inches | Books, plants, mixed display |
Go past 10 inches above a desk and you're into bookshelf territory. That depth starts to block your peripheral vision and puts the shelf edge uncomfortably close to your head when you stand.
Clearance: the number nobody talks about
Clearance is the gap between the shelf's front edge and where your head travels when you stand up from the chair. OSHA ergonomic guidance for seated workstations emphasizes unobstructed movement around the desk. In practical terms, keep at least 30 inches of vertical space from desk surface to ceiling, and never mount a shelf lower than 18 inches above the desk.
If you have a standing desk, this math changes. A shelf that clears your head when seated may collide with your monitor when the desk is raised. Run the desk through its full height range before you commit to a shelf line.
Visual Cues: How to Read Your Desk Before You Drill
The dry-run trick is the single best habit you can build here. It costs nothing and saves holes.
The tape-line method
Grab painter's tape and run a strip across the wall where you think the shelf should go. Step back. Sit at the desk.
Stand up. Look at the tape from three angles: seated, standing, and from the doorway.
This is exactly what a photo mockup would show you, but cheaper. If the tape line looks too high, it is. If it feels crowded by the monitor, it is.
Proportion check
Measure your desk width, then measure your intended shelf length. A shelf that spans 70 to 85 percent of the desk width reads balanced. Under 60 percent looks small.
Over 95 percent feels heavy and crowds the edges.
The stud sweep
Run a stud finder across the wall at shelf height. Mark stud centers with tape. Standard stud spacing in US homes is 16 or 24 inches on center.
Per National Association of Home Builders framing standards, this is the structural rhythm you're working with.
If your studs land in awkward spots, that's useful information, not a problem. It tells you whether you can use stud-mounted anchors (strongest) or need toggle bolts (strong, no stud required).
The leaning test
Before you buy anything, grab two or three frames you plan to display. Lean them against a wall at the height you're considering. This fake-ledge test shows you the real visual weight of your art.
A single large frame reads totally different from five small ones, and you'll know which shelf depth suits the group.
The Step-by-Step Mount (With the Dry-Run Trick That Saves Your Wall)
Here's the order that works. Skip a step and you'll be patching drywall.
- Measure and mark. Set shelf height relative to monitor top. Mark the bottom line with painter's tape across the full shelf span.
- Level the line. Use a 24-inch bubble level or a laser level to confirm the tape line is dead flat. A shelf that's a quarter-inch off will look wrong from across the room.
- Locate studs. Mark stud centers at the shelf line. If a stud lands within an inch of your anchor points, use it.
- Choose your anchor. Stud screw for stud-mounted. Toggle bolt for drywall with no stud (rated around 50 lb each). Drywall anchor for light loads only. Adhesive strips for renter-friendly, light-art setups.
- Drill pilot holes. Match bit size to anchor. Too small and the anchor won't seat. Too large and it spins.
- Mount the cleat or bracket. Attach to wall per manufacturer spec. Tighten fully but don't crush drywall.
- Slide or seat the shelf. Confirm it sits level and flush.
- Weight-test first. Load the shelf with something heavier than your art. Wait 24 hours. Check for sag or loosening.
- Add museum putty. A small dot under each leaning frame stops sliding from bumps or minor tremors.
- Light it. An LED strip tucked under the shelf edge makes art pop. Use only UL-listed low-voltage strips.
For safety, the CPSC has published guidance on furniture and wall-mounted item anchoring that's worth a read before you load anything heavy onto a shelf.
That's the batch done. The remaining sections (mistakes, choosing your setup, and FAQs) pick up from here.

Similar Posts