Urban Loft Soft Lighting: Warm Ideas That Transform
You walk into your urban loft, flip the switch, and that harsh overhead light hits the exposed brick like a police interrogation. The space looks cold, flat, and nothing like the warm, moody photos you pinned. Urban loft soft lighting solves exactly that, but only if you layer it correctly for the room you actually have.
Our research shows that a single overhead source reads eight times harsher against brick and concrete than it does on drywall, because those surfaces soak up warm tones and bounce glare. Per Illuminating Engineering Society (IES) guidance, soft ambient light means an ambient-to-task-to-accent ratio near 5:3:2, not one big fixture doing all the work. Here's how that plays out in a loft with ten-to-sixteen-foot ceilings and industrial windows.
urban loft soft lighting
Urban loft soft lighting means layering three sources at warm color temperatures. Aim for 2700K to 3000K at 90+ CRI. Ambient fill comes from uplights, task from table lamps, and accent from sconces.
High ceilings and exposed brick need more fill than a normal room. Diffuse every bulb so nothing glares at eye level.
Why Soft Lighting Looks Different in a Loft (and Why Photos Lie)
Ceiling height is the first thing most people underestimate. In a room with a 12-foot ceiling, a standard floor lamp puts usable light roughly eight feet below the surface you're trying to warm. The result: a bright pool near the floor and a dark void above it.
That's why the "just add a floor lamp" advice collapses in a loft.
Surfaces matter just as much. Exposed brick and raw concrete have low reflectance, meaning they swallow warm light instead of bouncing it. Drywall reflects far more.
So a 2700K bulb that looks cozy in a normal apartment can look muddy and dim on a brick wall.
Photos make this worse. Cameras compress color temperature and flatten glare, so a room that reads hard and clinical in person can still look soft in a phone shot. What the eye catches instantly, the sensor softens.
If your loft has north-facing industrial windows, midday light runs cool and gray. If it faces south or west, you get a hard directional wash from late morning onward. That daylight baseline changes what your artificial lighting has to do.
Here's the quick visual reference worth picturing: the same room at 2700K layered reads warm and textured. At 4000K single-source, it reads like an office corridor. Same furniture, same brick, completely different mood.
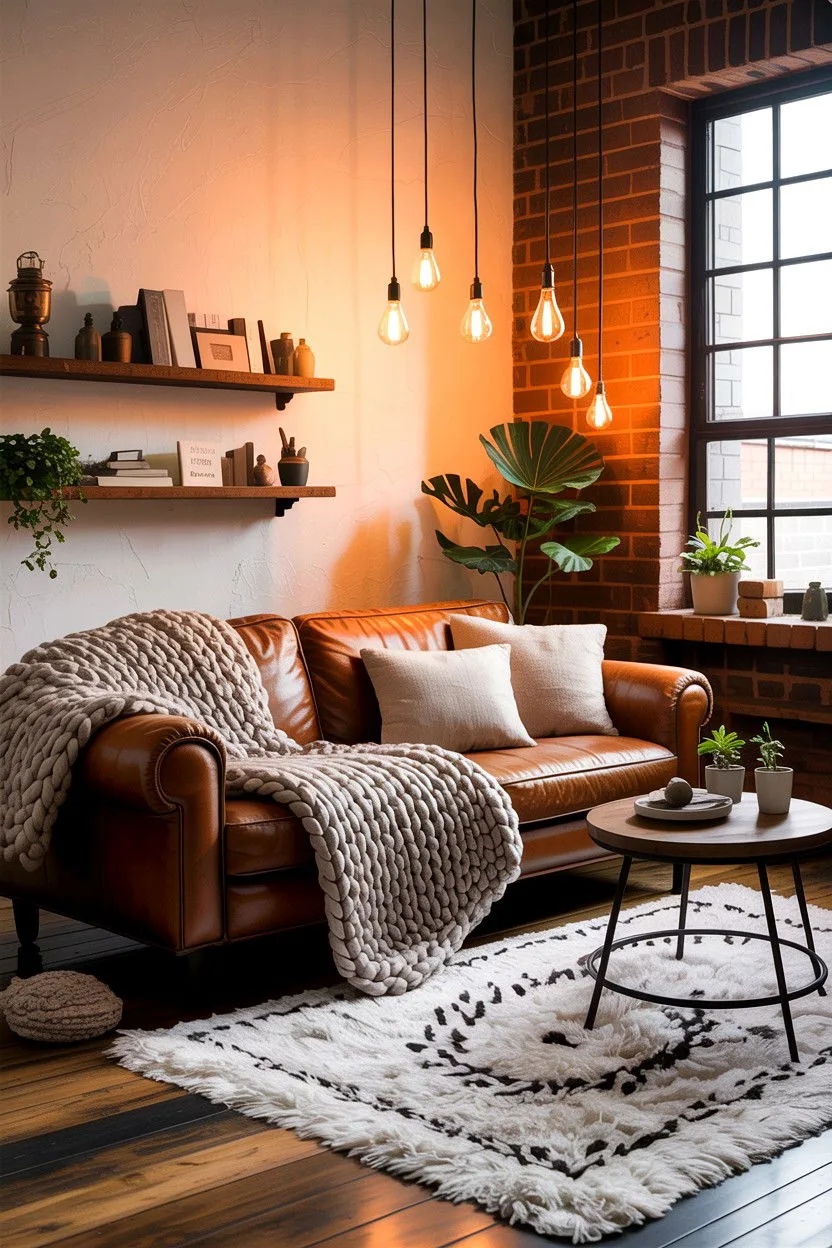
Image source: Bing (Web (fair-use with source credit))
The Four Layers — A Visual Breakdown
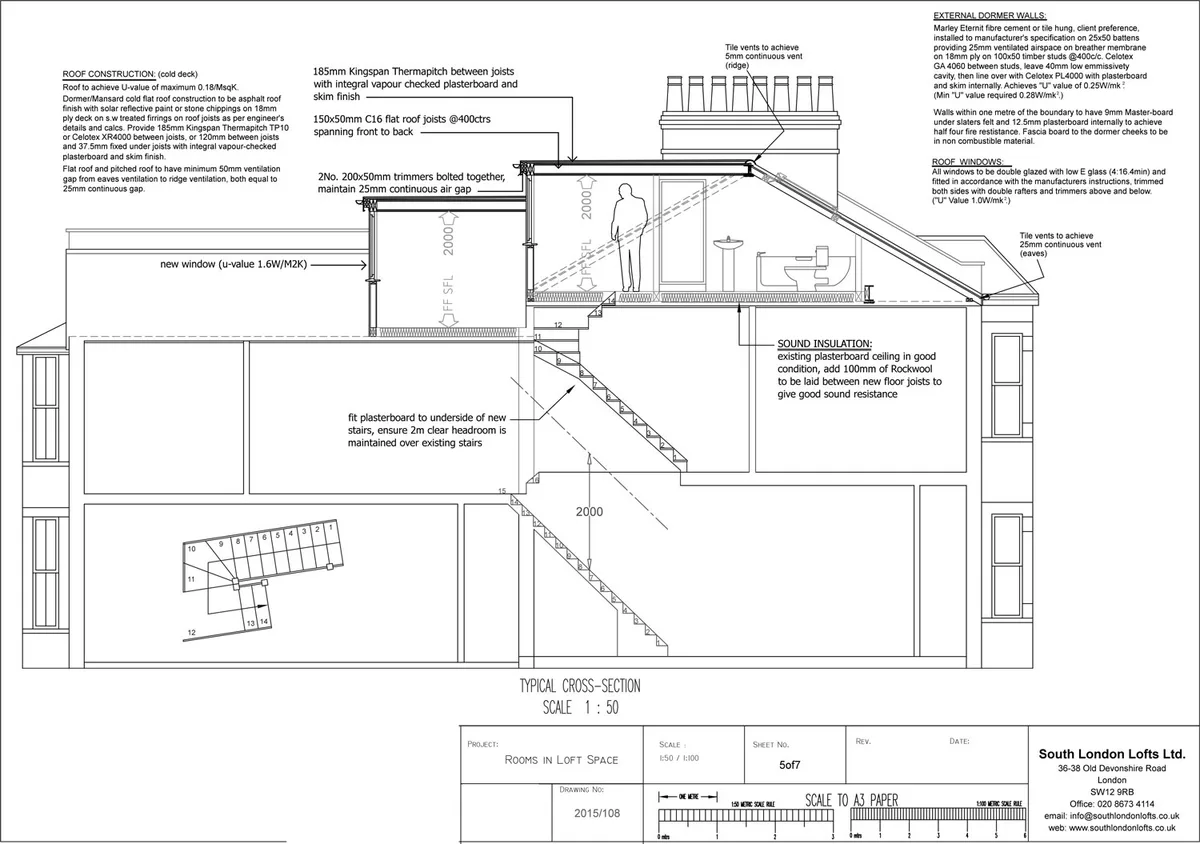
Image source: Bing (Web (fair-use with source credit))
Think of loft lighting in four stacked layers, not one. Ambient fills the volume, task lights what you do, accent grazes texture, and decorative anchors the mood. If you picture a cross-section of the room, each layer sits at a different height.
Ambient: Fill Without Glare
Ambient is your base. In a loft, that usually means uplighting (torchiere, wall washers) aimed at the ceiling so light bounces down softly. Bare overhead downlights are the opposite of ambient, they punch straight down and cast hard shadows across beams and ducts.
Task: Where You Actually Do Things
Task lighting goes where your hands and eyes work: a reading chair, a kitchen counter, a desk. Table and floor lamps with fabric or opal shades work here because the shade diffuses the source. Keep task lumens around 400 to 800 per zone.
Accent: Grazing Brick and Art
Accent is what makes a loft feel designed. A picture light over artwork, an LED strip behind a sofa, or a wall-washer aimed across brick all count. Accent runs dim, roughly 100 to 300 lumens, and exists to create depth, not brightness.
Decorative: The Anchor Piece
Decorative is the pendant cluster, the paper lantern, the sculptural lamp nobody needs but everybody notices. One is usually enough. Two competes for attention.
The 5:3:2 ratio is your guide. Roughly five parts ambient, three parts task, two parts accent. Decorative sits on top and doesn't count toward the ratio.
In a big open loft, that usually means two or three ambient sources before anything else gets plugged in.
Reading Your Space Before You Buy Anything
Before you spend a cent, map the room. This is the step most people skip, and it's why they end up with mismatched color temperatures and dead corners.
Start with the walkthrough checklist:
- Measure ceiling height at multiple points (lofts are often uneven).
- Note window orientation (north, south, east, west).
- List surfaces and their reflectance: brick, concrete, drywall, glass, metal.
- Identify zones: sleep, work, social, kitchen.
- Note every existing outlet and where cords would run.
- Check the daylight cycle from 10 AM to 10 PM.
Then sketch the room on paper or a phone app. Mark your zones and the natural traffic paths. This tells you where ambient needs to sit versus where task is actually used.
A loft with a central kitchen island and a far-corner desk needs different fill in each area.
The Daylight Check
Stand in the room at three times: late morning, mid-afternoon, and after sunset. Watch how the walls shift from cool to warm to flat dark. That tells you how much artificial fill you'll need to compensate.
A quick photo checklist helps, too. Shoot the empty room, shoot the room at night with lights on, and shoot one corner up close. These become your before shots.
The before/after comparison at the end is the whole payoff.
Outlet Reality
Renters especially need this. Most lofts have fewer outlets than modern apartments, and they're often on shared circuits. Extension cord daisy-chains are a fire hazard and violate NFPA 70 (the National Electrical Code) in ways most leases also prohibit.
Plan your fixture placement around what outlets can safely support.
Picking the Right Fixtures and Bulbs for Loft Scale
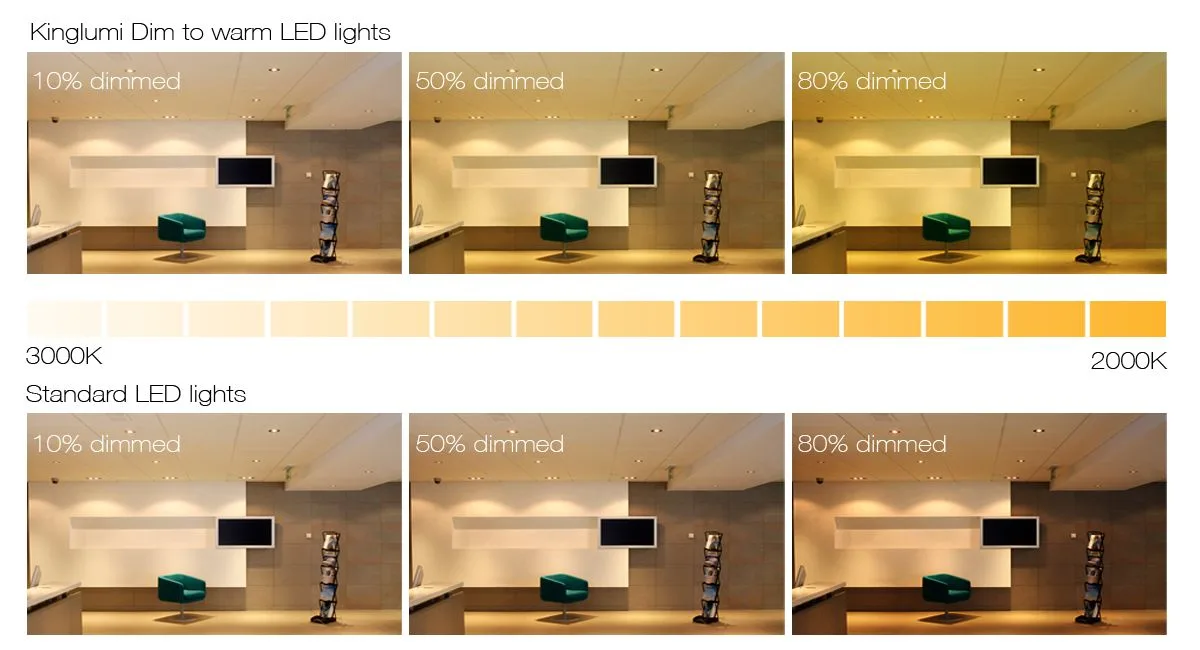
Image source: Bing (Web (fair-use with source credit))
Fixture choice is really about scale and diffusion. At loft height, small fixtures disappear. You want sources large enough to read from across the room, and shades that soften the light before it reaches your eye.
Plug-In vs. Hardwired
Plug-in sconces and uplights are the renter's best friend. They screw into a wall or stand on the floor, plug into an outlet, and come down in five minutes. Hardwired gives you cleaner lines and more placement freedom, but you're cutting drywall.
If you rent, go plug-in first. If you own and can hire a licensed electrician, hardwired sconces and recessed uplights are worth it.
Warm-Dim LEDs vs. Standard Dimmable
This is the difference most people miss. A standard dimmable LED holds its color temperature as you dim. A warm-dim LED drops from, say, 3000K down to 2200K as it fades, mimicking the amber shift of an old incandescent.
That's what makes a room feel like it's "settling in" for the night.
For lofts, warm-dim is almost always the better look. Standard dimmable is fine for utility spaces like a laundry corner.
The Three Numbers That Matter
| Spec | Target | Why It Matters |
|---|---|---|
| Color temp (Kelvin) | 2700K–3000K | Warm without looking orange |
| CRI | 90+ (95+ ideal) | Keeps brick and wood tones true |
| Lumens | Ambient 1500–3000, task 400–800, accent 100–300 | Prevents over- and under-lighting |
Manufacturer specs confirm that cheap LEDs under CRI 80 wash out reds and browns, which is exactly what brick is made of. Bumping to CRI 90+ is the single cheapest upgrade most lofts need.
Shade Materials That Soften
Linen, rice paper, and opal glass are your soft-light workhorses. They diffuse evenly and kill glare. Frosted drum shades work too.
Avoid black shades and bare Edison bulbs at eye level, they throw hard point sources that flatten everything nearby.
One more: check the dimmer compatibility listed on the bulb and dimmer datasheets. A mismatched pair flickers, buzzes, or won't dim below 30 percent. Warm-dim LEDs usually need a specific driver, not just any dimmer switch.
Common Visual Mistakes That Kill the Soft Look
Most "why doesn't my loft look like the inspo photos" problems trace back to a handful of repeated errors. If any of these sound familiar, you're not alone.
- Bare bulbs at eye level. Romantic in theory, harsh in practice. The filament becomes a glare point that your eye can't ignore.
- Mixing 2700K and 4000K in the same sightline. One wall reads warm, the next reads blue. Your brain catches the mismatch instantly.
- Flicker and buzz from mismatched dimmers. Cheap dimmers paired with incompatible LED drivers produce visible flicker most people can't consciously name but feel as fatigue.
- Overhead-only lighting. A loft lit solely from above flattens brick texture and turns beams into hard stripes.
- Black or dark shades. They eat warm light instead of transmitting it.
- Too many point sources, no ambient. A dozen small lamps with no fill still leaves the ceiling dark and the room claustrophobic.
- Cool color temperature on brick. Above 3500K, exposed brick shifts gray and loses the warmth that made you love the space.
The Corrected Version
Picture the same room with warm-dim LEDs matched across every fixture, shades in linen or rice paper, and one uplight filling the ceiling void. The brick reads warm. The beams stop casting hard shadows.
The whole room softens without adding brightness.
If/Then Quick Fixes
If your room looks flat and cold, then add one uplight before changing any bulbs. If it looks harsh but warm, then swap shades to diffuse before swapping bulbs. If it flickers when dimmed, then check dimmer-driver compatibility before replacing the fixture.
If brick looks muddy, then raise CRI to 95+ and drop the color temp below 3000K.

Similar Posts